Sew Sweetness

Moto Pouches

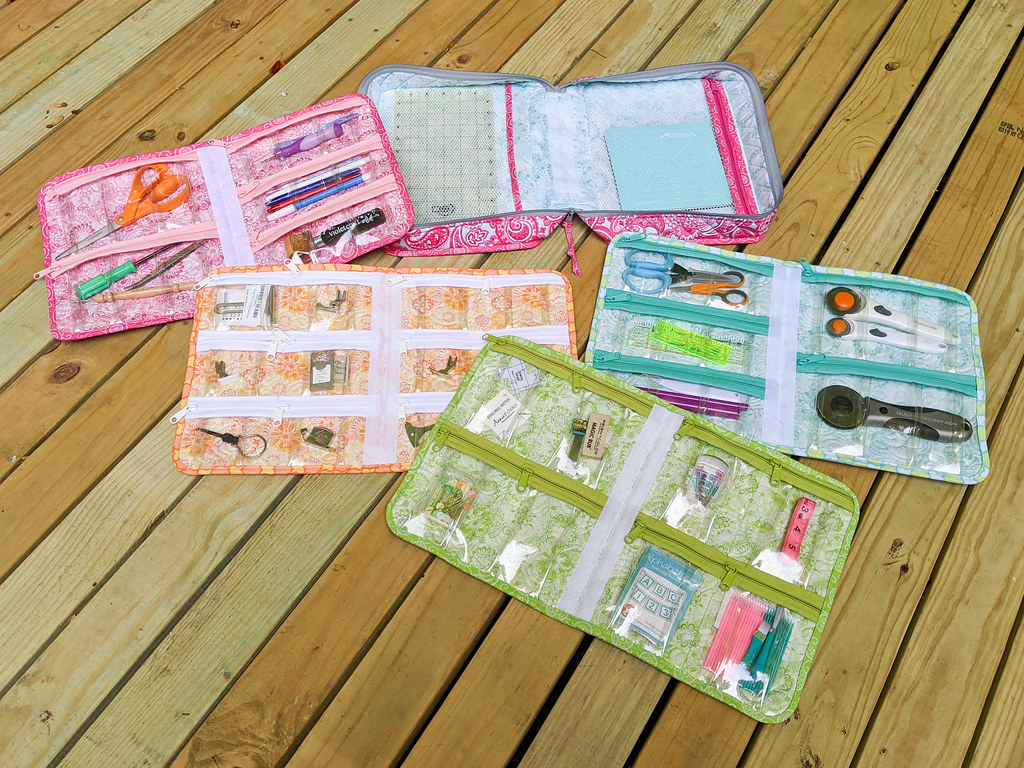
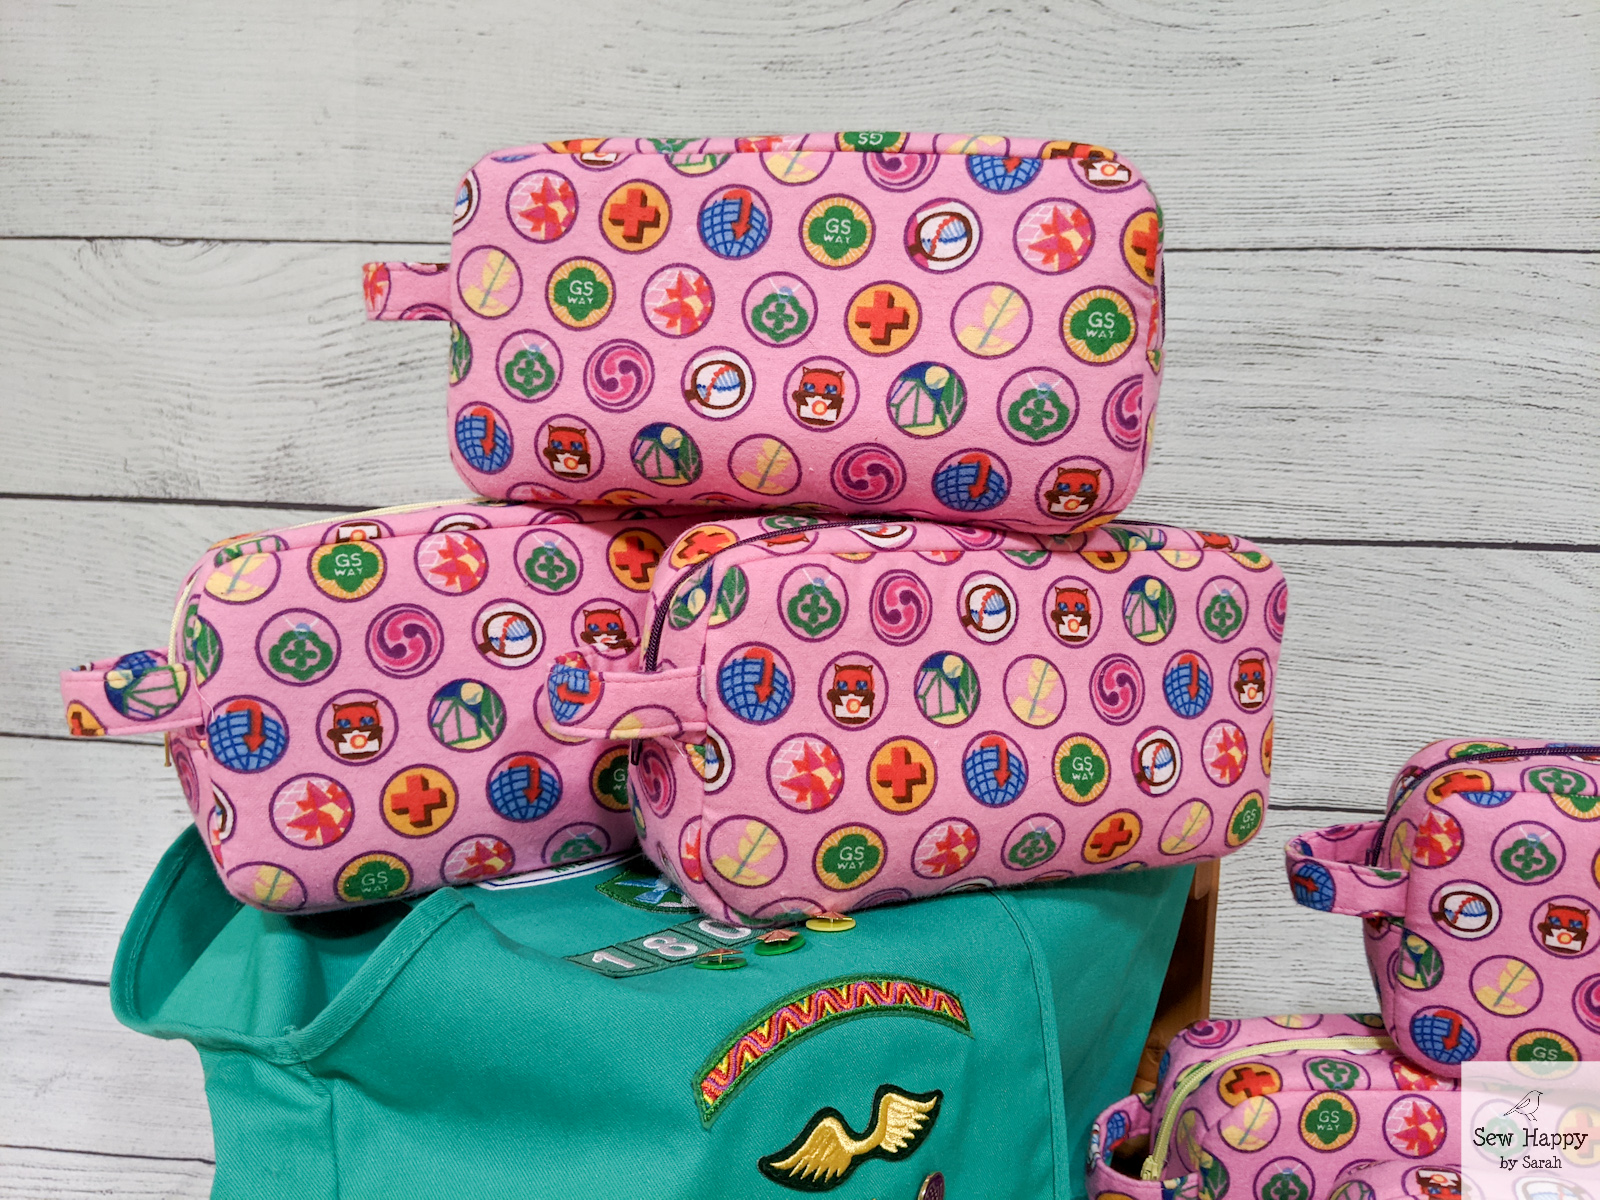
What better way to celebrate my birthday than by completing eight Moto pouches! Yes, today is my big day and I finished up the last of these pouches for my Girl Scout troop. Well, seven are for them and one is for me to hold my troop leader gear! I started leading my daughter’s troop this year and with all the virtual Zoom meetings we had to endure due to the pandemic, the girls deserve a fun end-of-the-year gift.

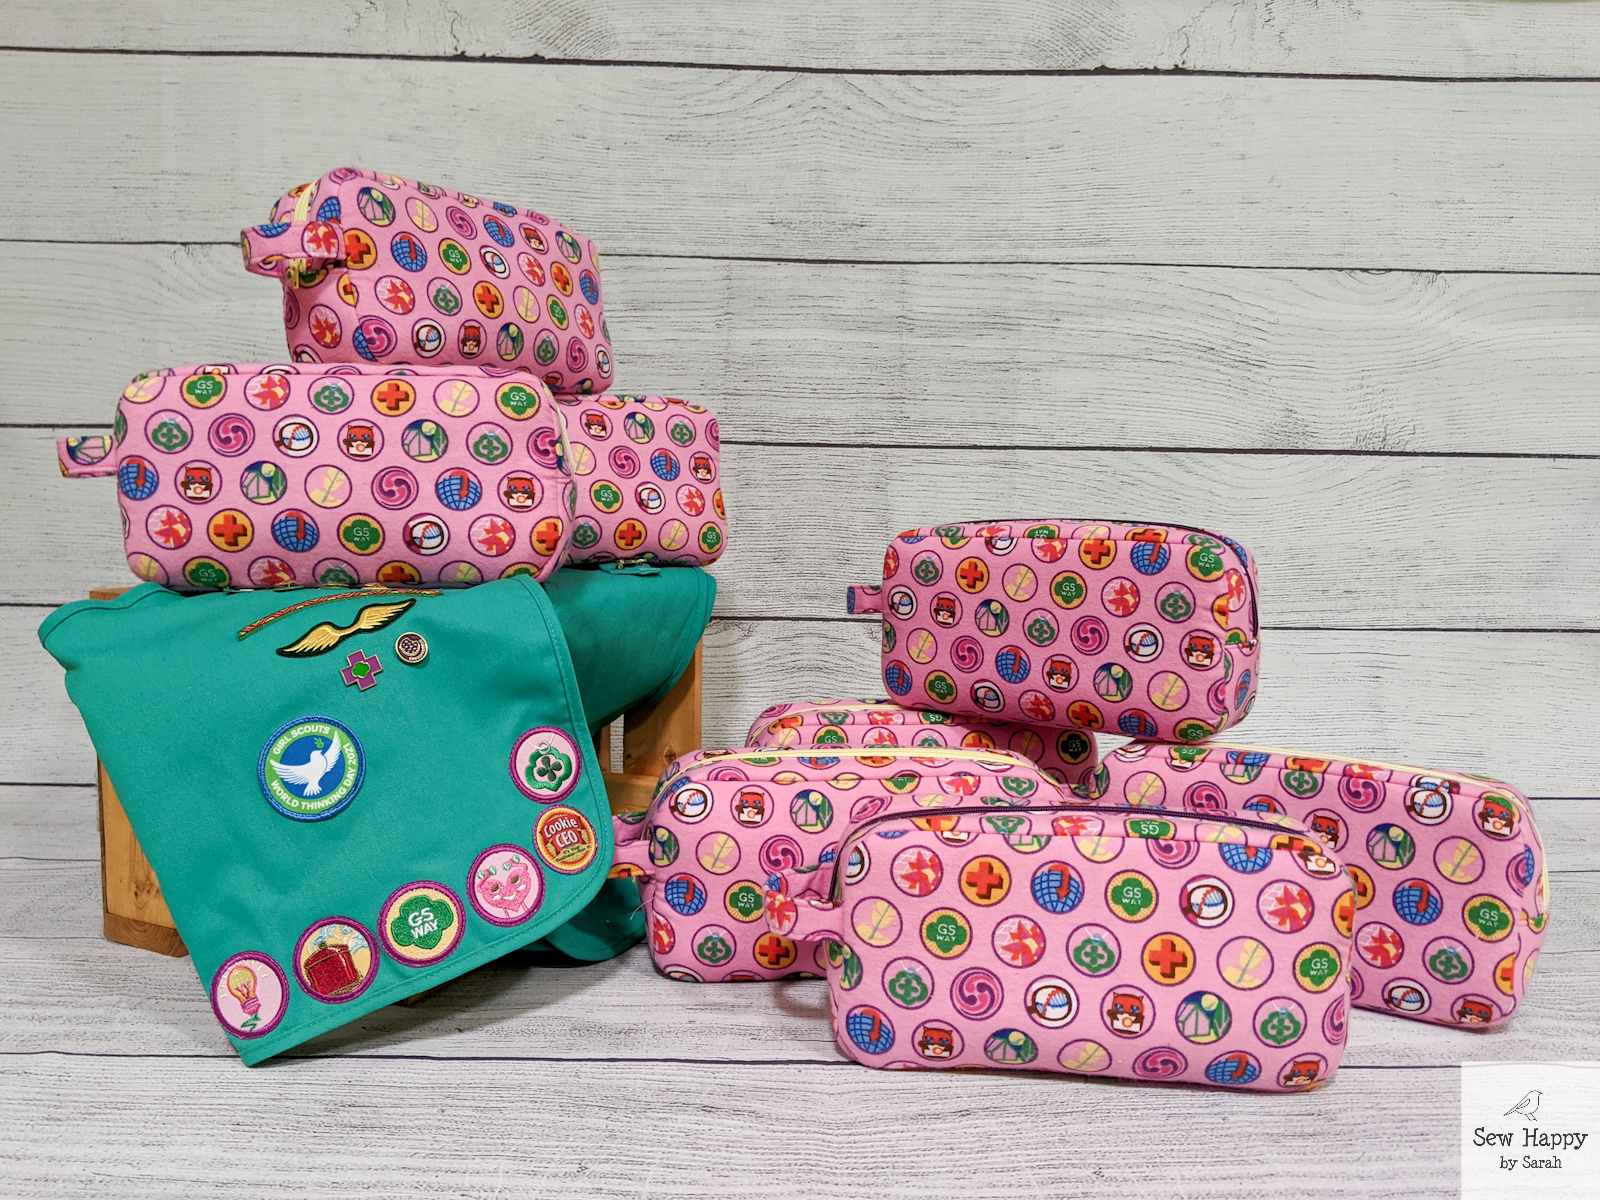
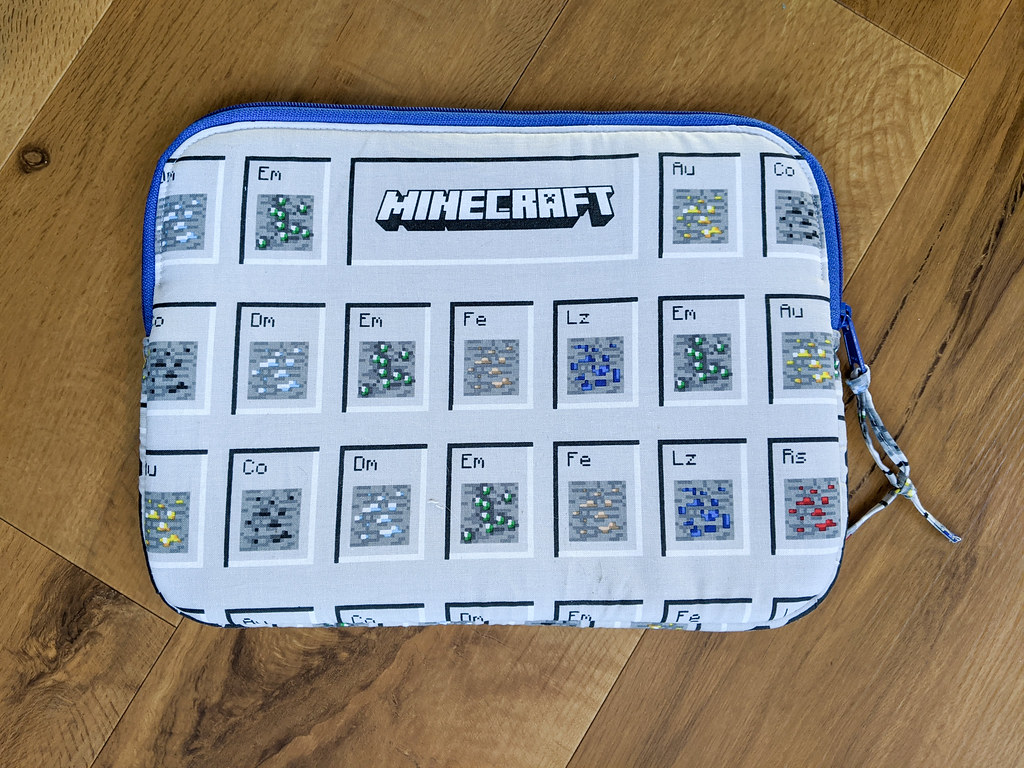
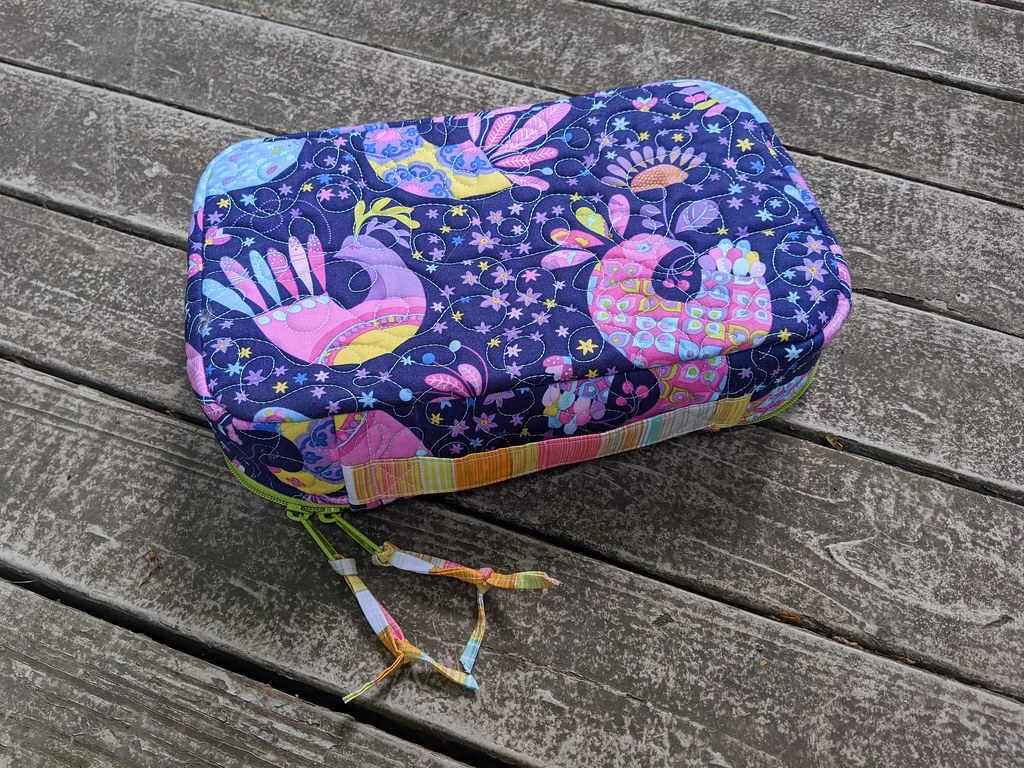
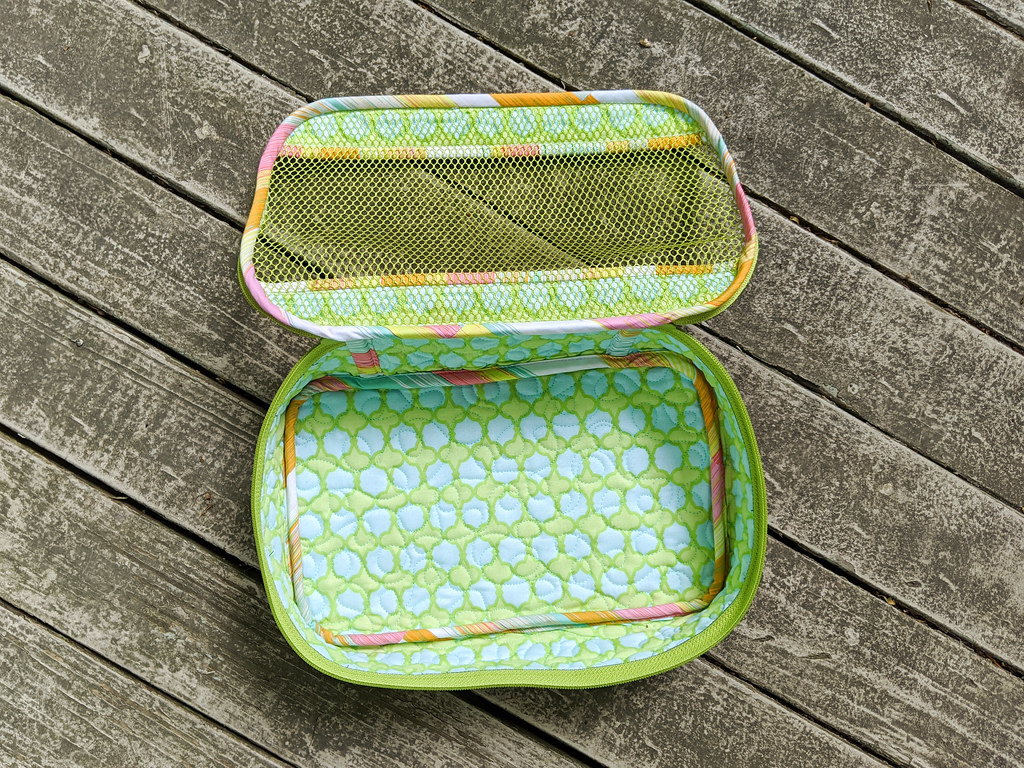
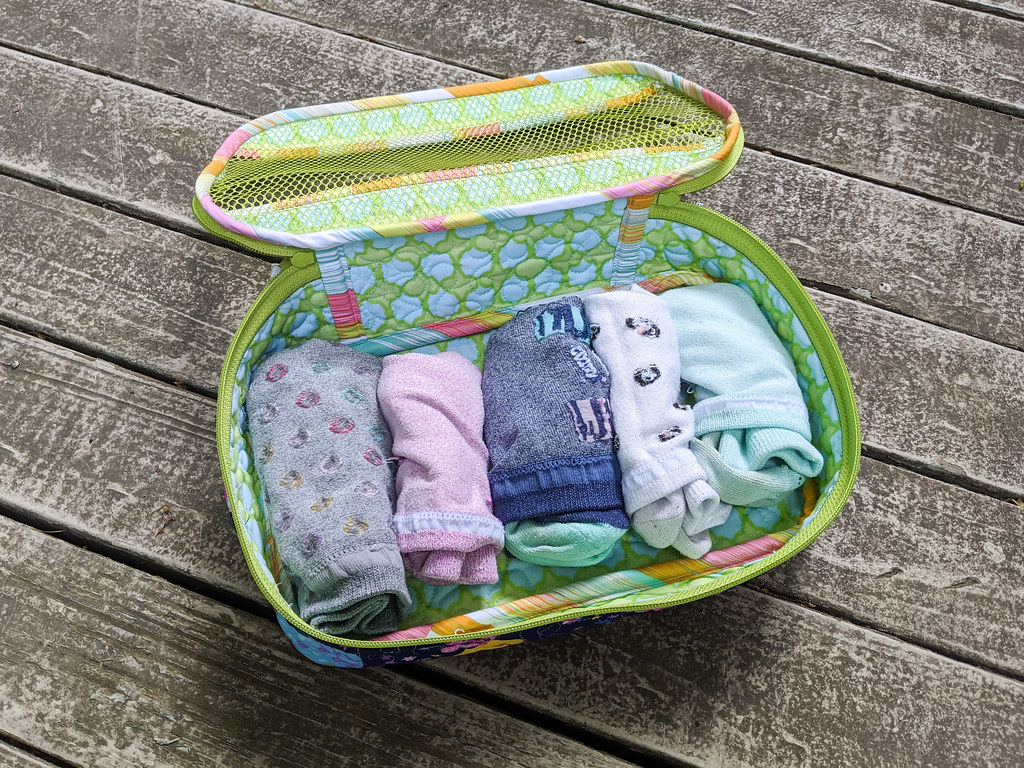
When set out to start this project I already had all the supplies I needed. I had found this Junior badges fabric at Joann’s in the clearance section for 80% off awhile ago. I didn’t know what I’d do with it at the time, but the price was right so I grabbed a few yards! It’s flannel but works surprisingly well for a pouch. I also used two different lining fabrics and zippers from my stash.

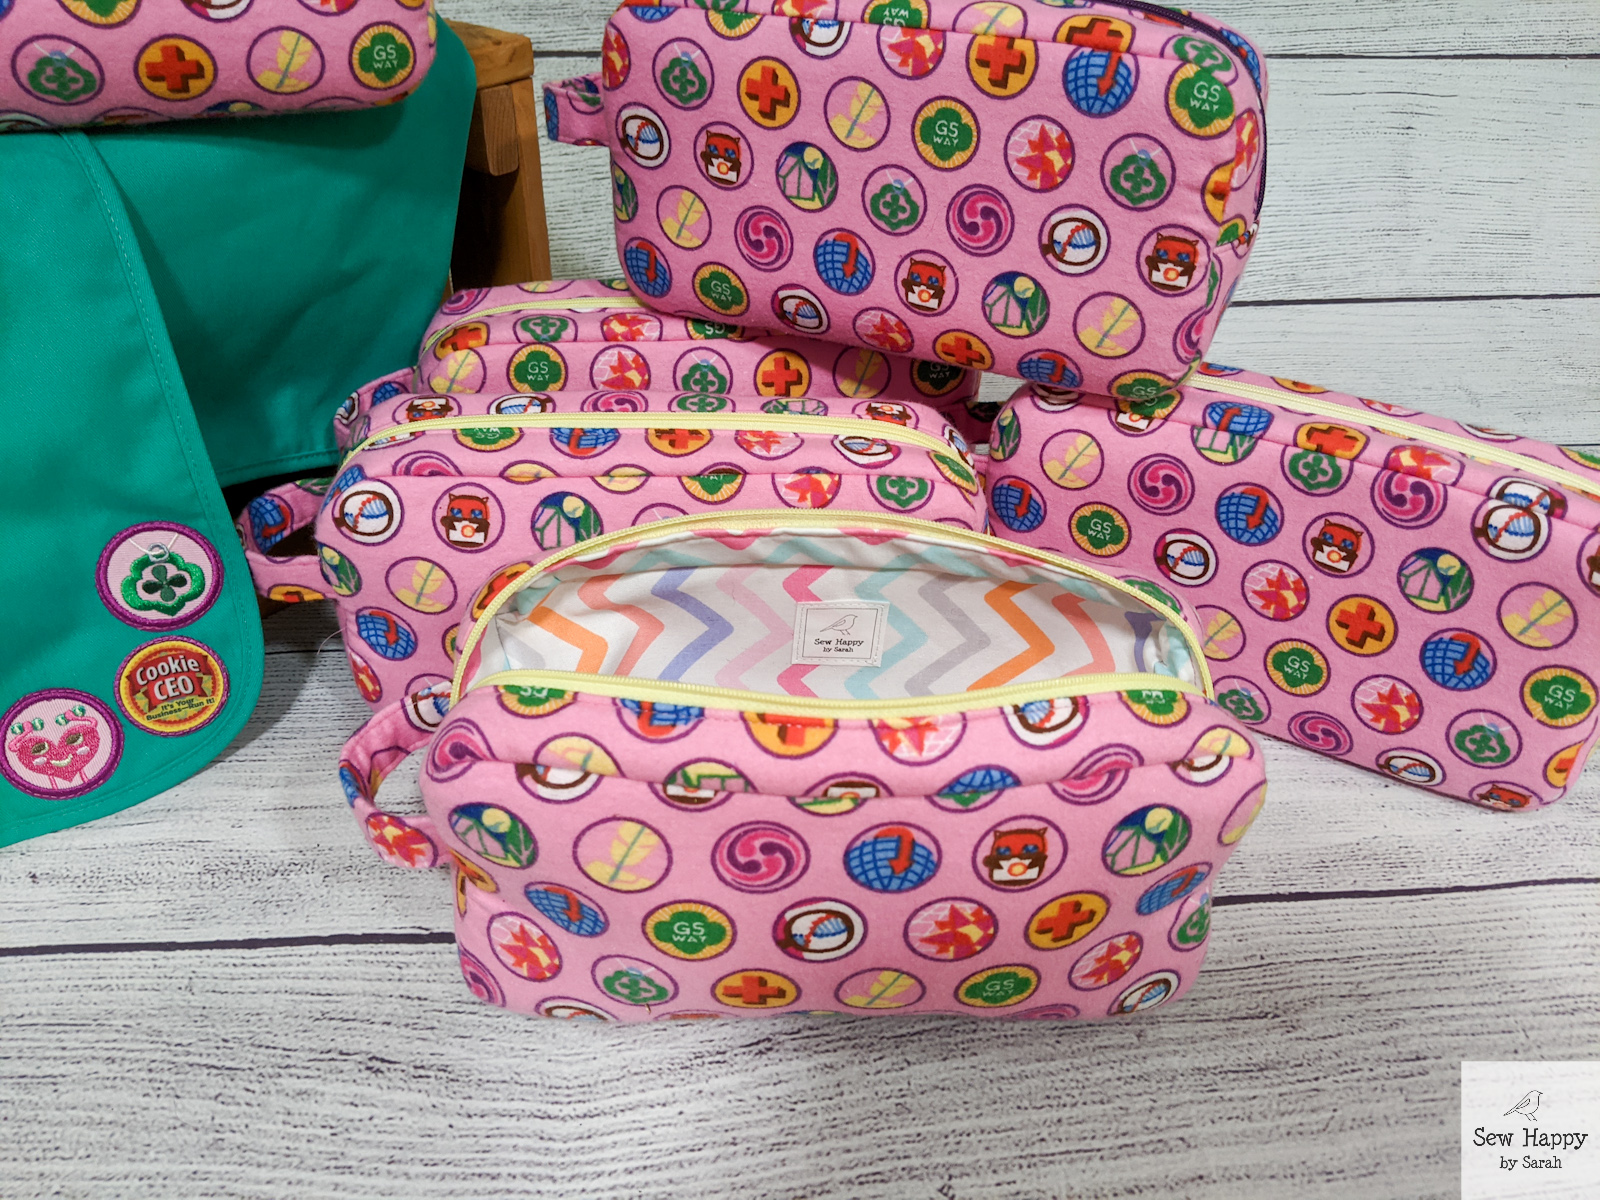
This was a fairly quick make thanks to the great pattern instructions and follow-along video from Sew Sweetness. I made these assembly line style, which I feel is the most efficient way to go when you want to make a lot of the same thing!

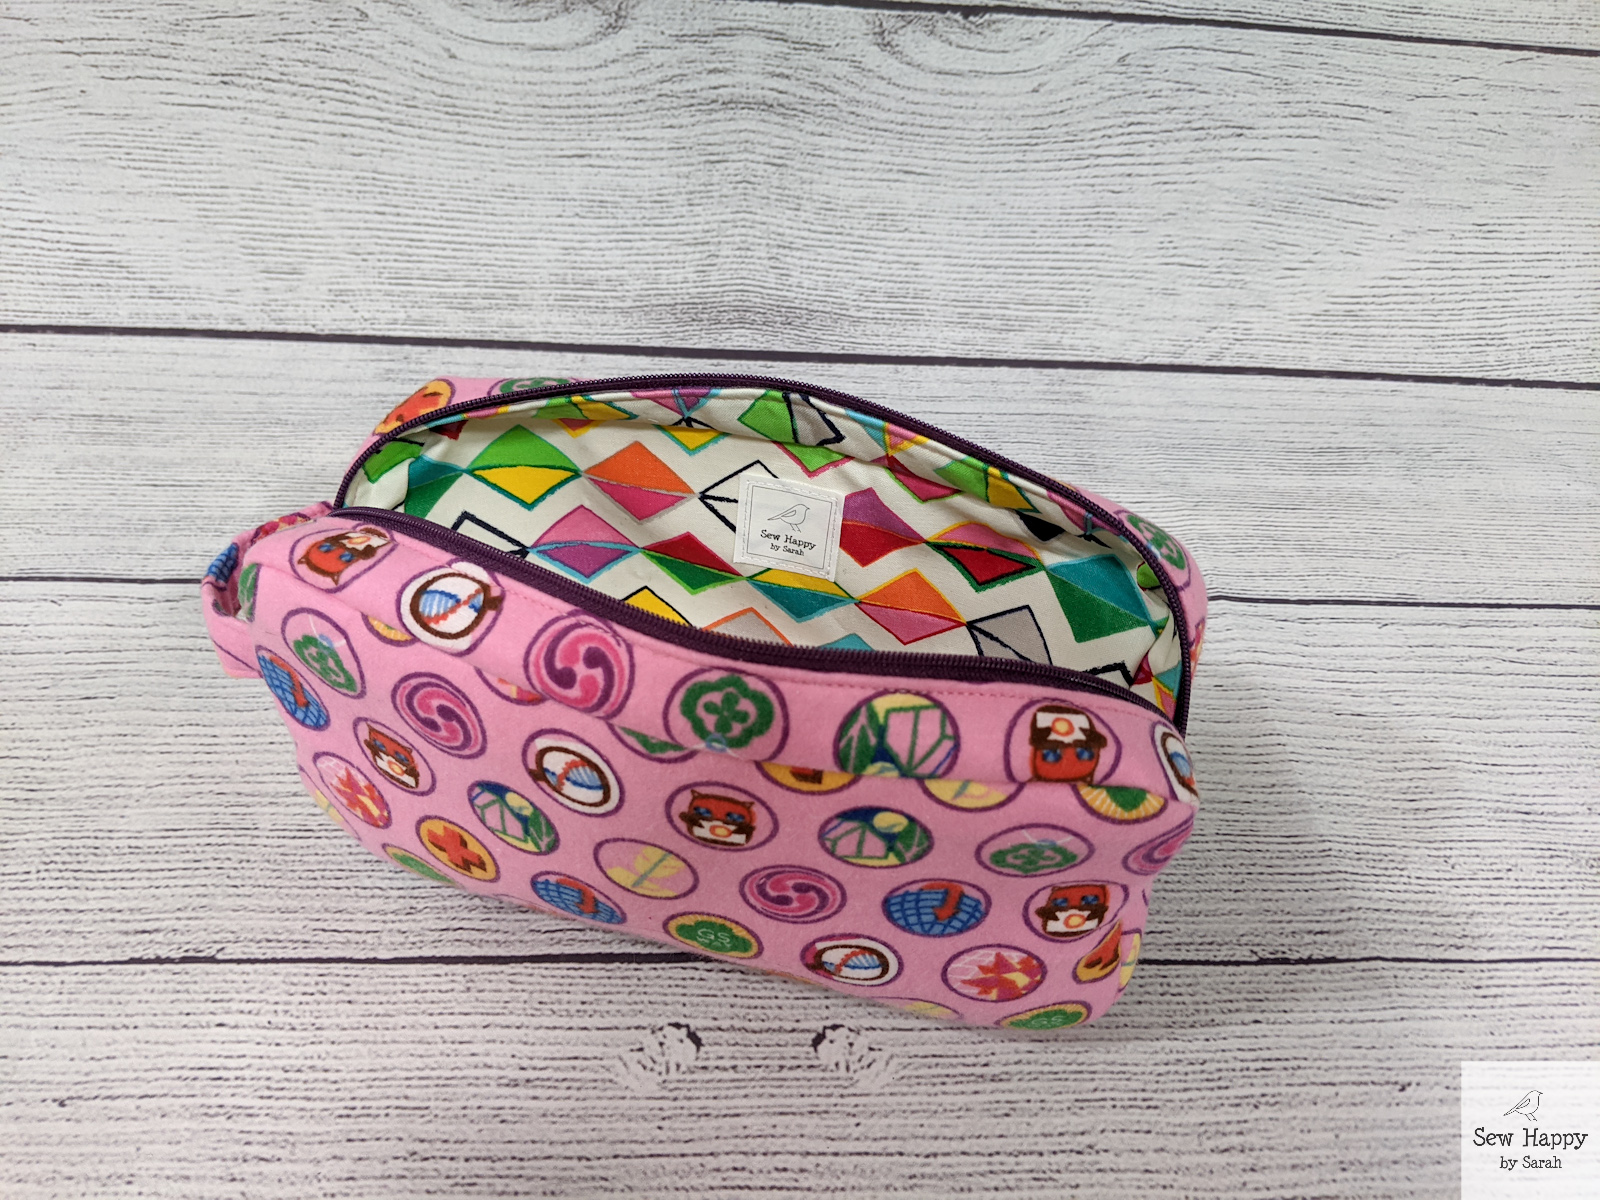
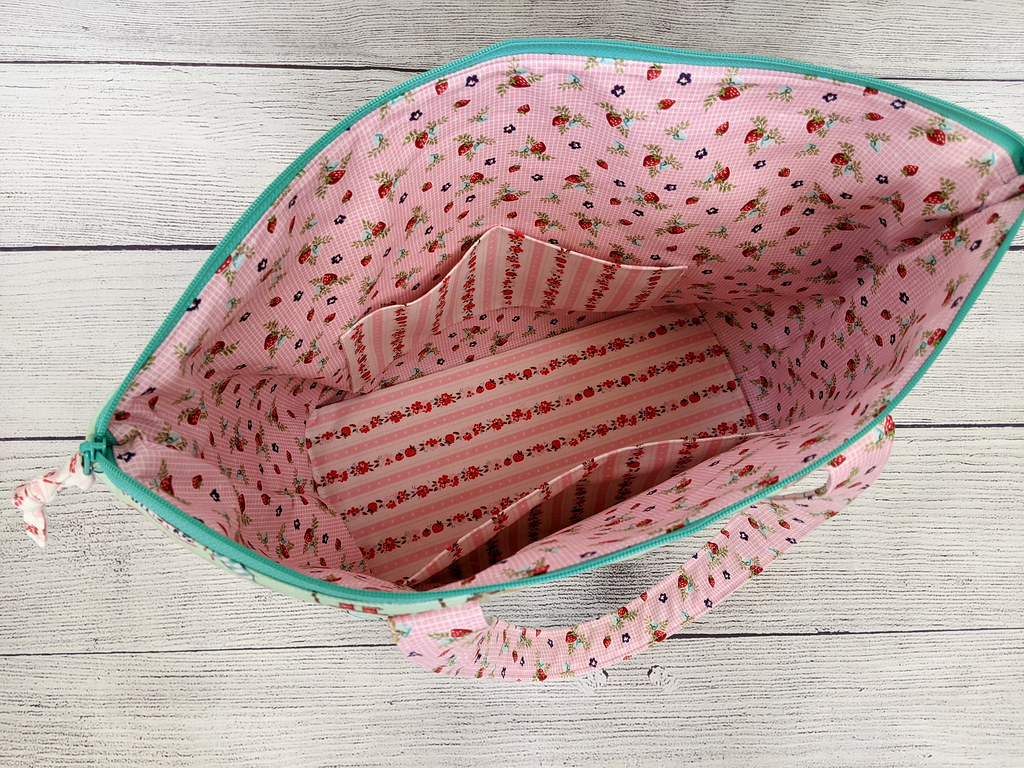
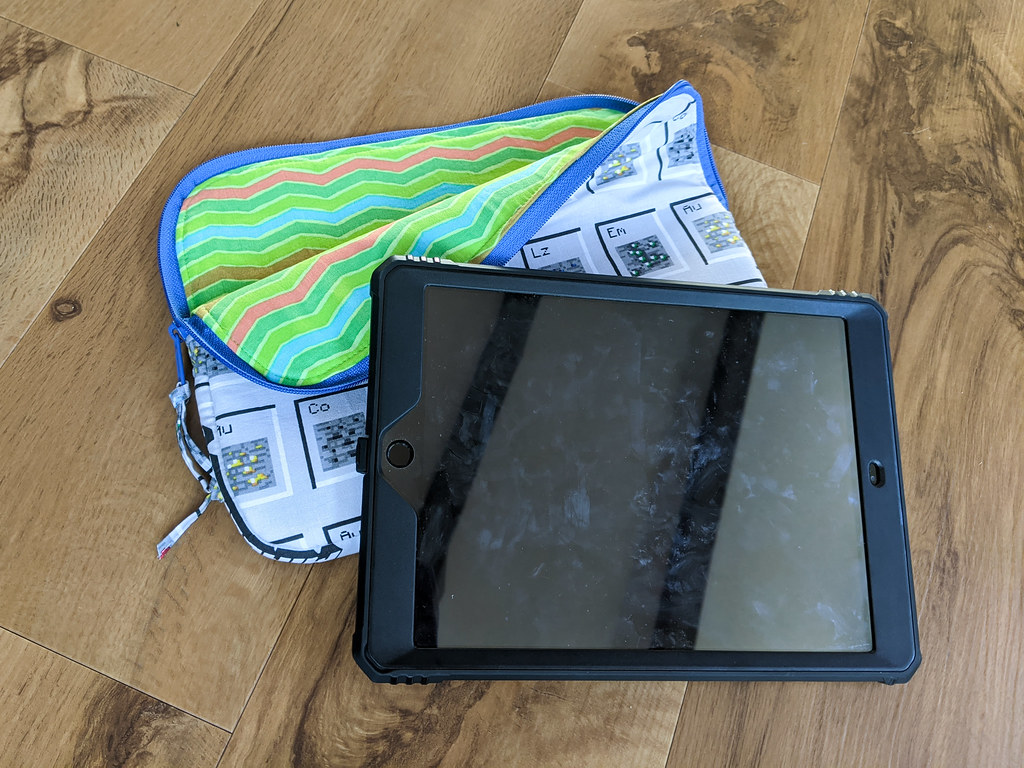
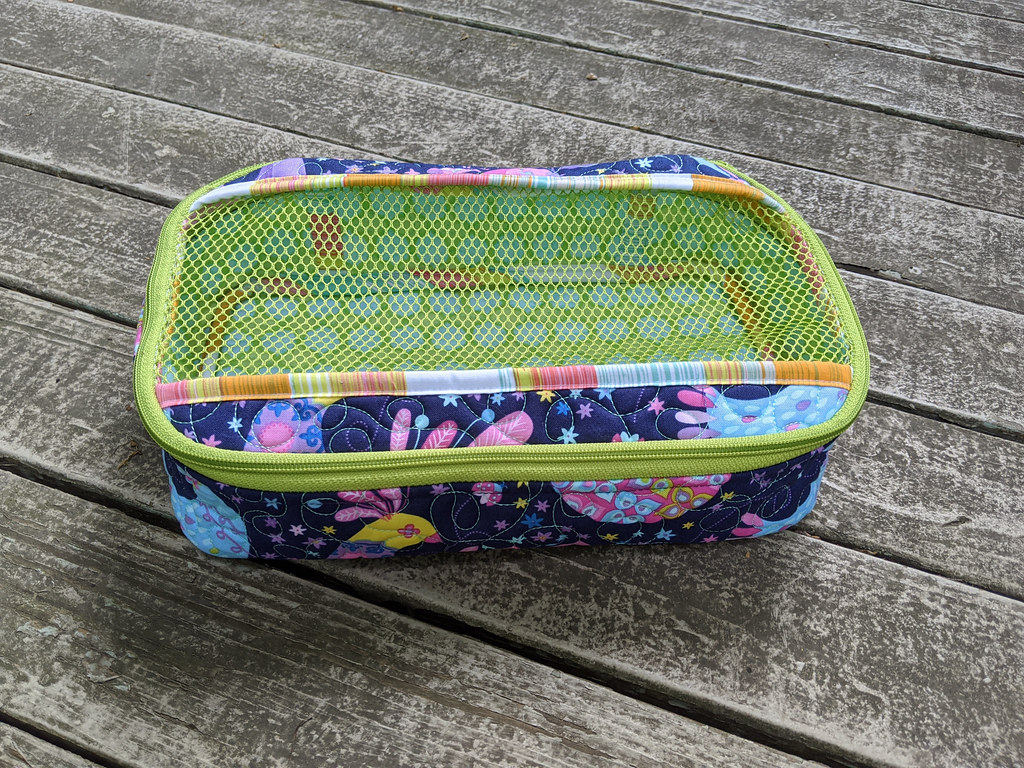
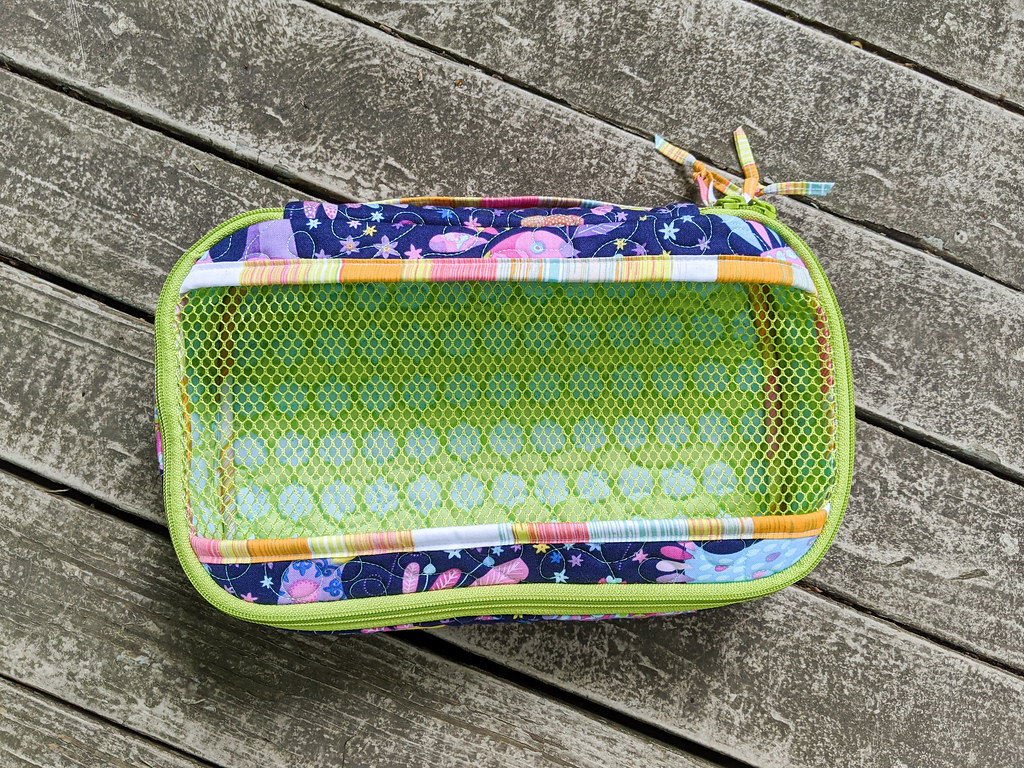
I experimented a bit by applying OdiCoat Waterproof Gel to the lining fabrics. This way the bags can easily be wiped clean if the girls put toiletries or something messy inside them. This was my first time using OdiCoat and I was very impressed with it! You can feel that the lining has a different texture. I’ll definitely use it again.

I wanted to add a little something extra to the pouches and found these Pop-It toy keychains. Fidget toys are all the rage right now with these girls, so I know they’ll be excited for this bonus gift. These will be fun zipper pulls for the bags.


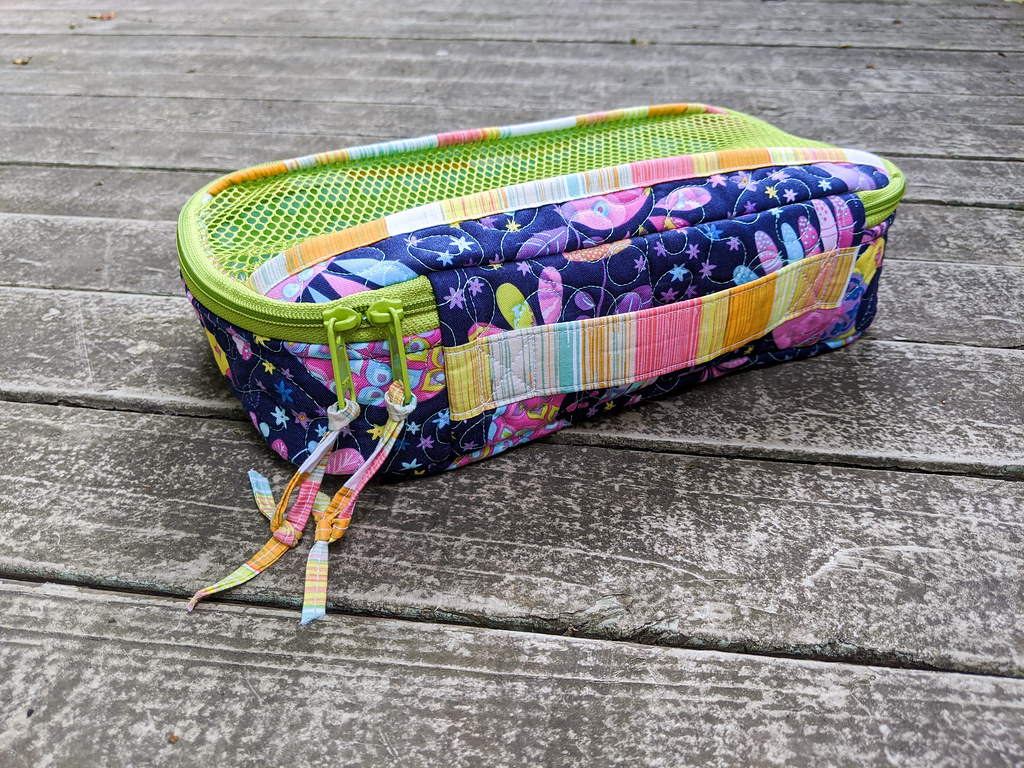
Finished Size: Large - 9-1/2” long x 5” tall x 2-1/2” wide
Pattern: Moto pouch from the Minikins Season One Bundle by Sew Sweetness
Fabric: Girl Scouts Junior Badges flannel from Joann Fabrics
Lazy Girl Designs

Harper Holdall Tote

I finished this large, roomy tote a couple days ago and have already put it to use! It’s the perfect size to hold my 11″ x 11″ cross-stitch frame that was too tall for my previous cross-stitch bag (my ByAnnie’s Open Wide) and there’s extra room for my other stitching supplies. The construction was different than other bags I have made and I learned some new techniques!

Even though I already own a couple other tote patterns I haven’t sewn yet, when a local quilt shop recently offered a two-session Zoom class for making this one I couldn’t resist! Besides the motivation for making another bag, it was a chance to sew along with others and get some tips along the way. I have definitely been missing “open sewing” sessions and quilt retreats this past year.

My daughter was interested in making the bag too, so with the convenience of the Zoom class at home we prepped two bags to attempt to make both during the class. I knew this would be tough, but I have two sewing machines set up in my sewing room so I thought it was worth an attempt! Worst case I would help her with hers and finish mine later.

I know from previous class experiences that I can quickly become behind, and sure enough, that’s what happened to us. Partially because we were sewing slower than the instructor was and partially because we were trying to make two bags at once. We didn’t mind, though. We still picked up a few tips along the way and found the other classmates’ questions and the instructor’s answers informative. We finished our bags later on, just as I predicted. 🙂

The pattern itself was very easy to follow and has great color photographs for each step. (Handy for when we got behind in class!) There were a few modifications to the pattern I made along the way. I used ByAnnie’s Soft and Stable instead of the called-for “Stiff Stuff” firm interfacing. Mostly because I already had the Soft and Stable and I love the soft structure it gives to bags. I also added an additional pocket to the inside because the more pockets the better!

I had to slow way down during the steps for assembling the bag to make sure I was sewing the lining and the exterior pieces together the correct way. It was a little nerve-wracking, but it turned out right so I didn’t have to do any seam ripping! This was my second time making a bag with boxed corners. Sewing the corners themselves was so easy and really seems ingenious! I like this technique.

Also take note of my new “Sew Happy by Sarah” bag label! I designed it myself and printed it out on my home inkjet printer using June Tailor Colorfast White Printer Fabric. The printer fabric sheets worked perfectly and will remain colorfast because I used an iron to set the ink. I’ll definitely be adding these labels to my future makes!

Even though we got behind during the class, my daughter did an awesome job of sewing this whole bag herself! Gone are the days where I have to help guide the fabric to keep it straight — she is definitely becoming more accurate and I can simply tell her to make a 1/4 inch seam or 1/8″ top-stitching and she can do it on her own! She plans to use her bag for her cross-stitch supplies as well!

Finished Size: 13" x 13" x 6"
Pattern: Harper Holdall Tote by Lazy Girl Designs
Fabric: Shine On by Bonnie & Camille
Front Porch Quilts

Easy Street Tote Bag

This tote bag was a fun one! What a great way to use a panel! I got this fabric and pattern kit from the Front Porch Quilt Shop and gifted this bag to my mom. The construction of the bag was different from any other bag I’ve done so far, done in a way where the front/back, sides and bottom pieces are sewn together to make one large piece, quilted, and then folded around to form the structure of the outer bag (instead of quilting the separate pieces and assembling afterward).

I quilted this free-motion on my Juki 2010Q because it was too small to put on the longarm. It was fun to create designs on this Minnesota lake scene. I used Soft and Stable, which gave it great form and added SF101 to the lining.

I definitely plan on using this pattern again. The tote is a perfect size to carry books or project materials.

Finished Size: 12" x 12.5" x 3"
Pattern: Easy Street Tote by Front Porch Quilts
Fabric: Quilt Minnesota 2020
Fat Quarter Shop, Sew Sampler Box

Pack-and-Go Project Bag

This cute project bag pattern is exclusive to the Fat Quarter Shop Sew Sampler September 2020 box. It was an easy make with clear color illustrations. The back of the bag uses ByAnnie’s Soft and Stable foam stabilizer and the front has a handy vinyl window. It’s a great size (16″ x 20″) and could fit a large project inside. I also loved the Balboa fabric that was included with the box. I wish I had more of it!

Finished Size: 16" x 20"
Pattern: Pack and Go Project Bag Pattern (exclusive to Sew Sampler September 2020 box) by Sherri McConnell
Fabric: Balboa by Sherri & Chelsi
Sew Sweetness

Grab and Go Sleeve – Version 2

When my 8-year-old son got an iPad to use from school and was told to bring it home each day, I quickly saw he needed a case for it to protect the screen. I had some Minecraft fabric he had wanted me to buy for some other project that I never did, so I used it in hopes he would be impressed with his new case.

The Grab and Go Sleeve pattern gives you a formula to enter in your own measurements for your device or book so you can calculate the size of the pattern pieces. It was pretty slick! The pattern calls for both ByAnnie’s Soft and Stable and Pellon #71 Peltex ultra firm fusible interfacing for extra protection for the device. This is a quick and easy sew when you are following along with the included step-by-step video that comes with the pattern bundle.

This is my second time using the pattern, I have also done a version 1.

Finished Size: 
Pattern: Grab and Go Sleeve from the Minikins Season One Bundle by Sew Sweetness
Fabric: Minecraft from Joann Fabrics