


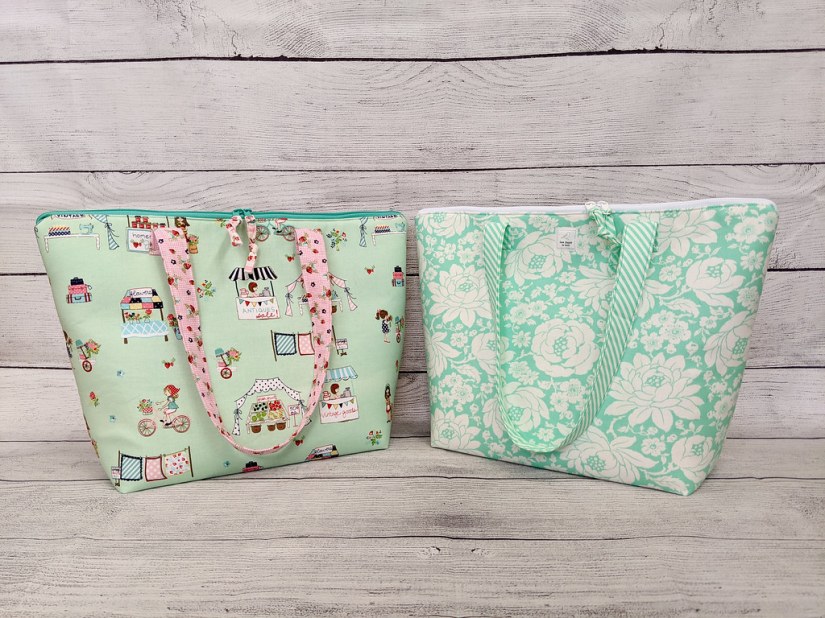
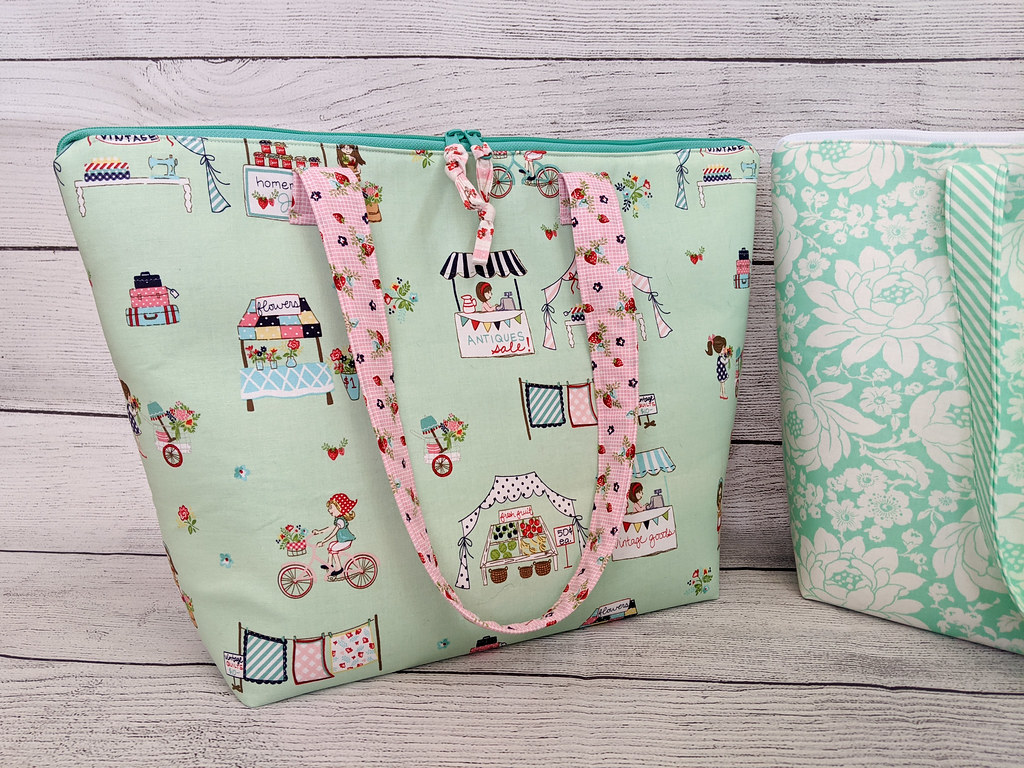
I finished this large, roomy tote a couple days ago and have already put it to use! It’s the perfect size to hold my 11″ x 11″ cross-stitch frame that was too tall for my previous cross-stitch bag (my ByAnnie’s Open Wide) and there’s extra room for my other stitching supplies. The construction was different than other bags I have made and I learned some new techniques!
Even though I already own a couple other tote patterns I haven’t sewn yet, when a local quilt shop recently offered a two-session Zoom class for making this one I couldn’t resist! Besides the motivation for making another bag, it was a chance to sew along with others and get some tips along the way. I have definitely been missing “open sewing” sessions and quilt retreats this past year.
My daughter was interested in making the bag too, so with the convenience of the Zoom class at home we prepped two bags to attempt to make both during the class. I knew this would be tough, but I have two sewing machines set up in my sewing room so I thought it was worth an attempt! Worst case I would help her with hers and finish mine later.
I know from previous class experiences that I can quickly become behind, and sure enough, that’s what happened to us. Partially because we were sewing slower than the instructor was and partially because we were trying to make two bags at once. We didn’t mind, though. We still picked up a few tips along the way and found the other classmates’ questions and the instructor’s answers informative. We finished our bags later on, just as I predicted. 🙂
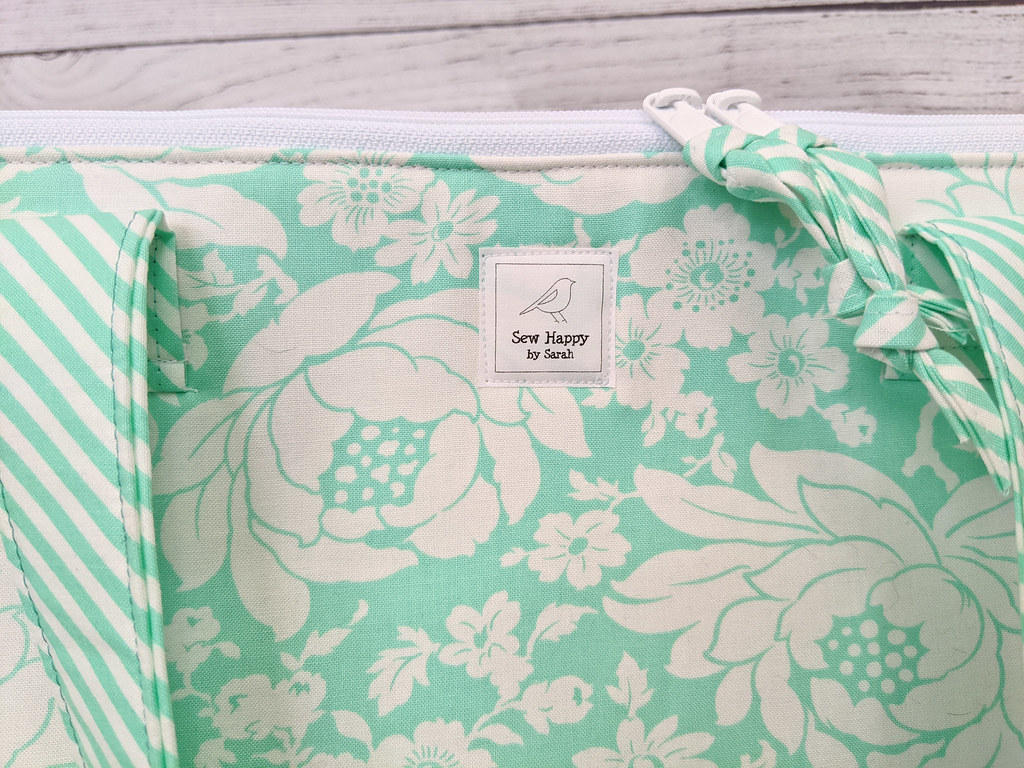
Sew Happy by Sarah label! 

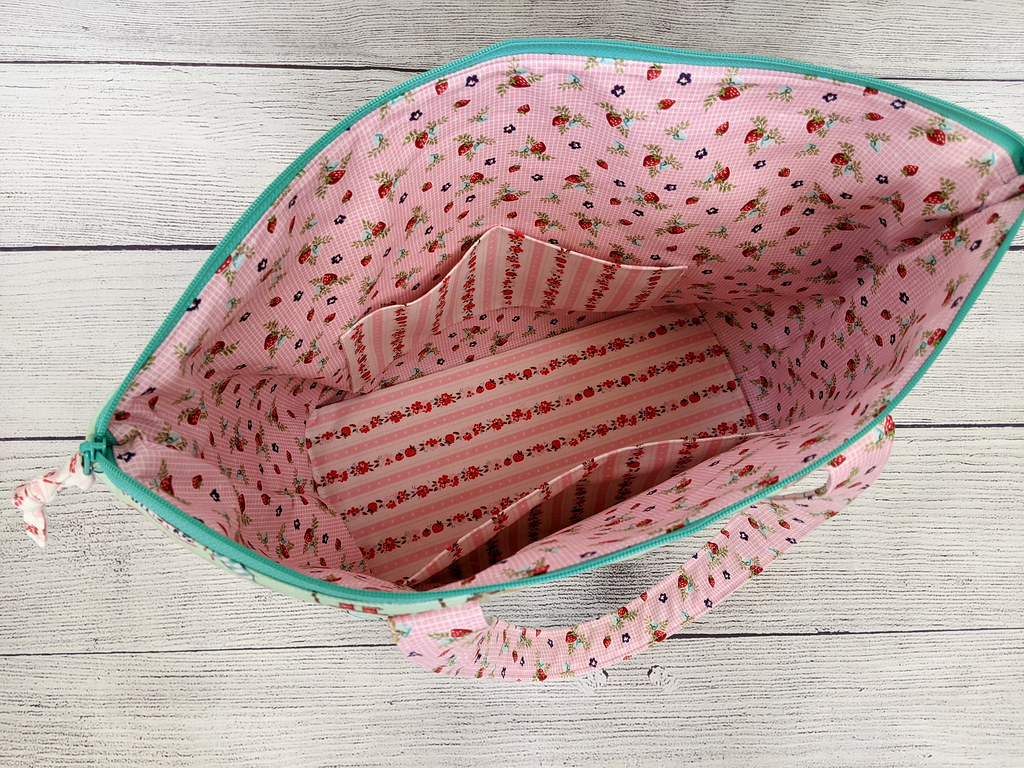
The pattern itself was very easy to follow and has great color photographs for each step. (Handy for when we got behind in class!) There were a few modifications to the pattern I made along the way. I used ByAnnie’s Soft and Stable instead of the called-for “Stiff Stuff” firm interfacing. Mostly because I already had the Soft and Stable and I love the soft structure it gives to bags. I also added an additional pocket to the inside because the more pockets the better!
I had to slow way down during the steps for assembling the bag to make sure I was sewing the lining and the exterior pieces together the correct way. It was a little nerve-wracking, but it turned out right so I didn’t have to do any seam ripping! This was my second time making a bag with boxed corners. Sewing the corners themselves was so easy and really seems ingenious! I like this technique.
Also take note of my new “Sew Happy by Sarah” bag label! I designed it myself and printed it out on my home inkjet printer using June Tailor Colorfast White Printer Fabric. The printer fabric sheets worked perfectly and will remain colorfast because I used an iron to set the ink. I’ll definitely be adding these labels to my future makes!
My daughter’s bag 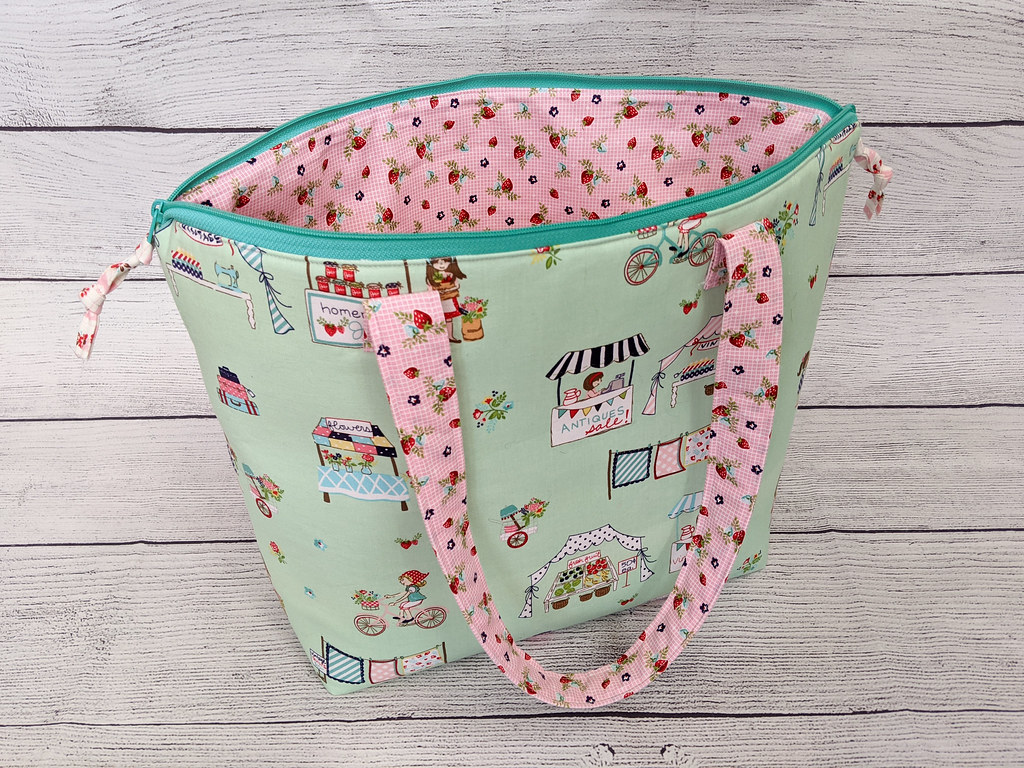
Even though we got behind during the class, my daughter did an awesome job of sewing this whole bag herself! Gone are the days where I have to help guide the fabric to keep it straight — she is definitely becoming more accurate and I can simply tell her to make a 1/4 inch seam or 1/8″ top-stitching and she can do it on her own! She plans to use her bag for her cross-stitch supplies as well!
Finished Size: 13" x 13" x 6"
Pattern: Harper Holdall Tote by Lazy Girl Designs
Fabric: Shine On by Bonnie & Camille
