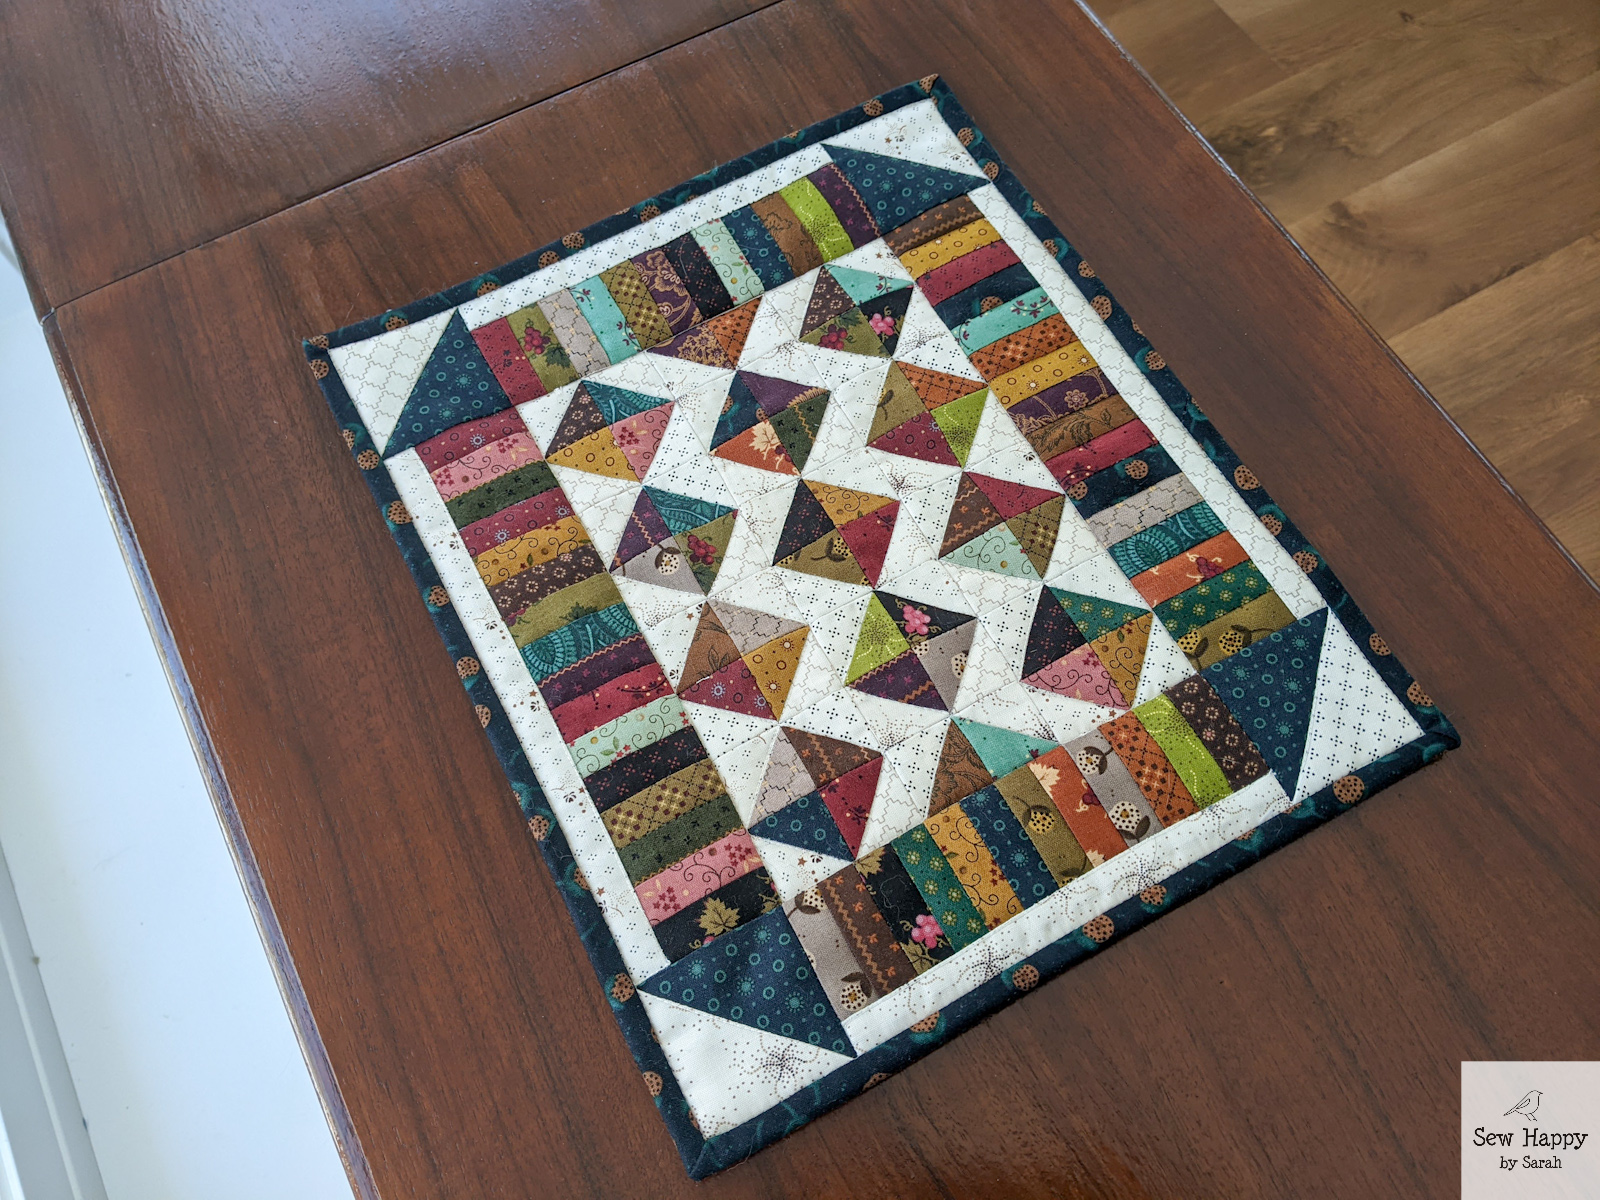
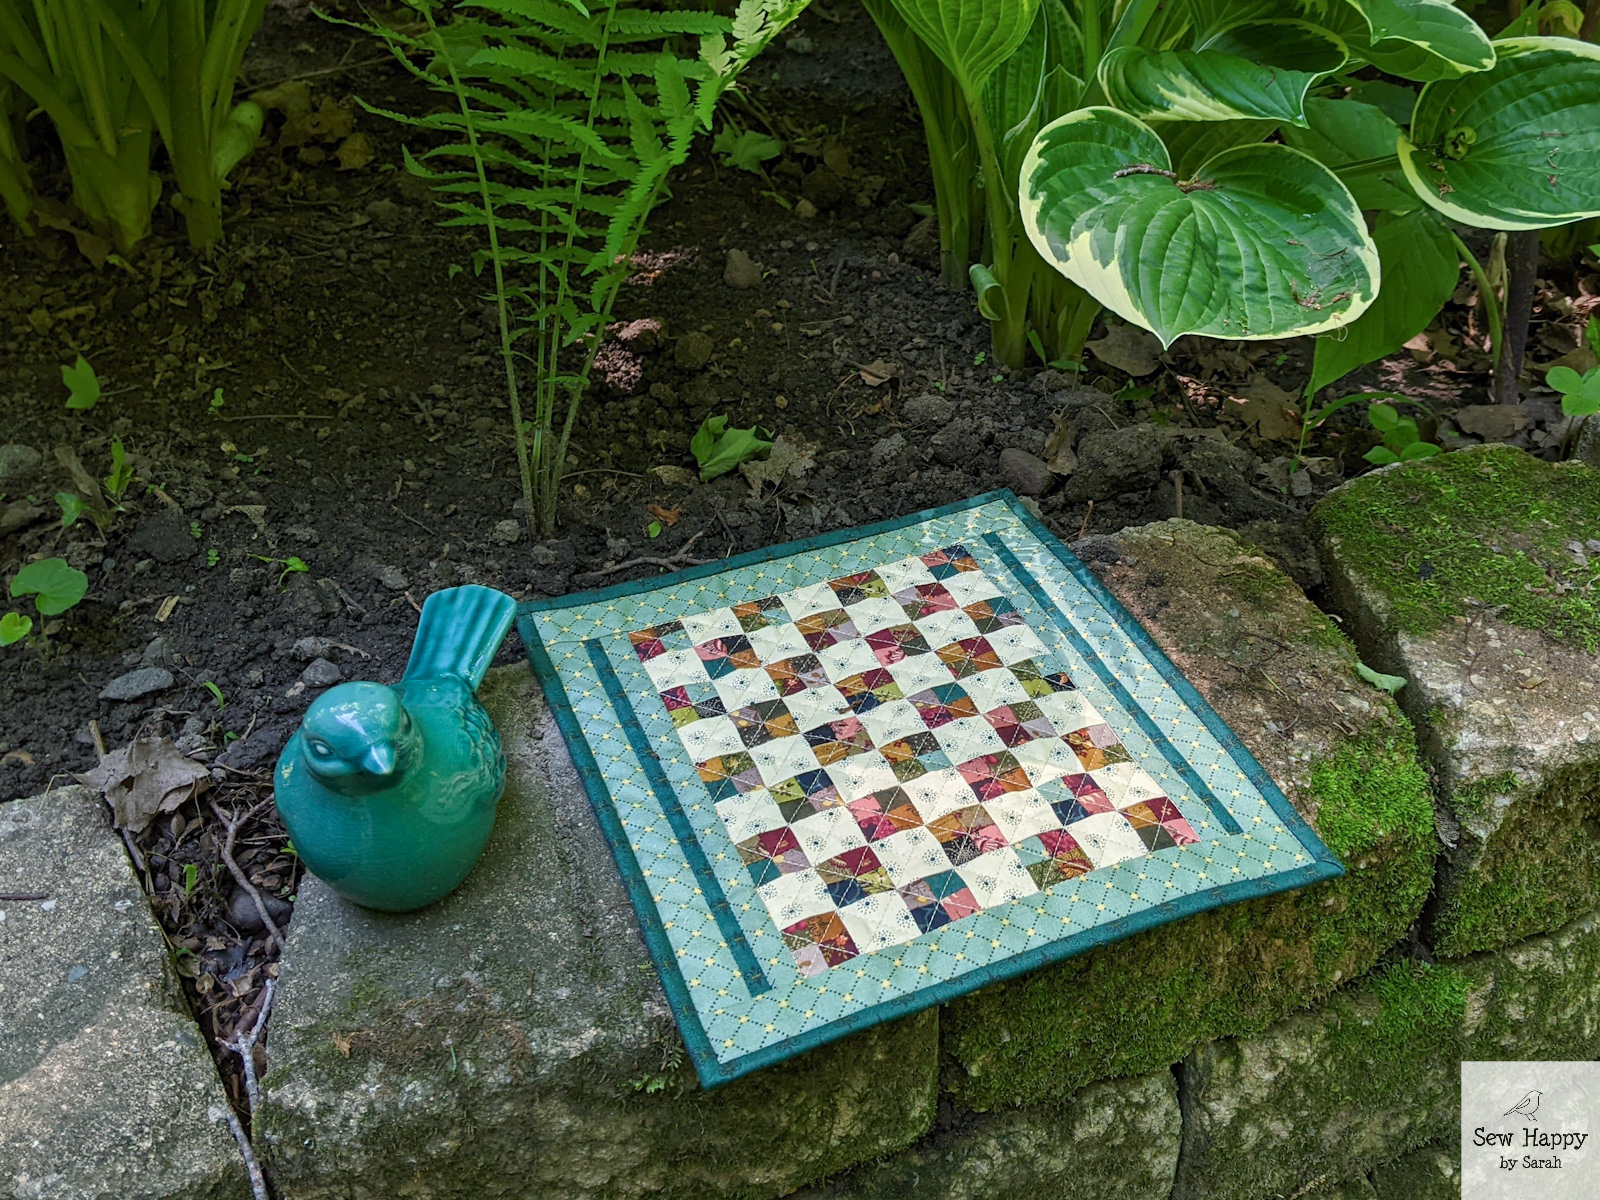
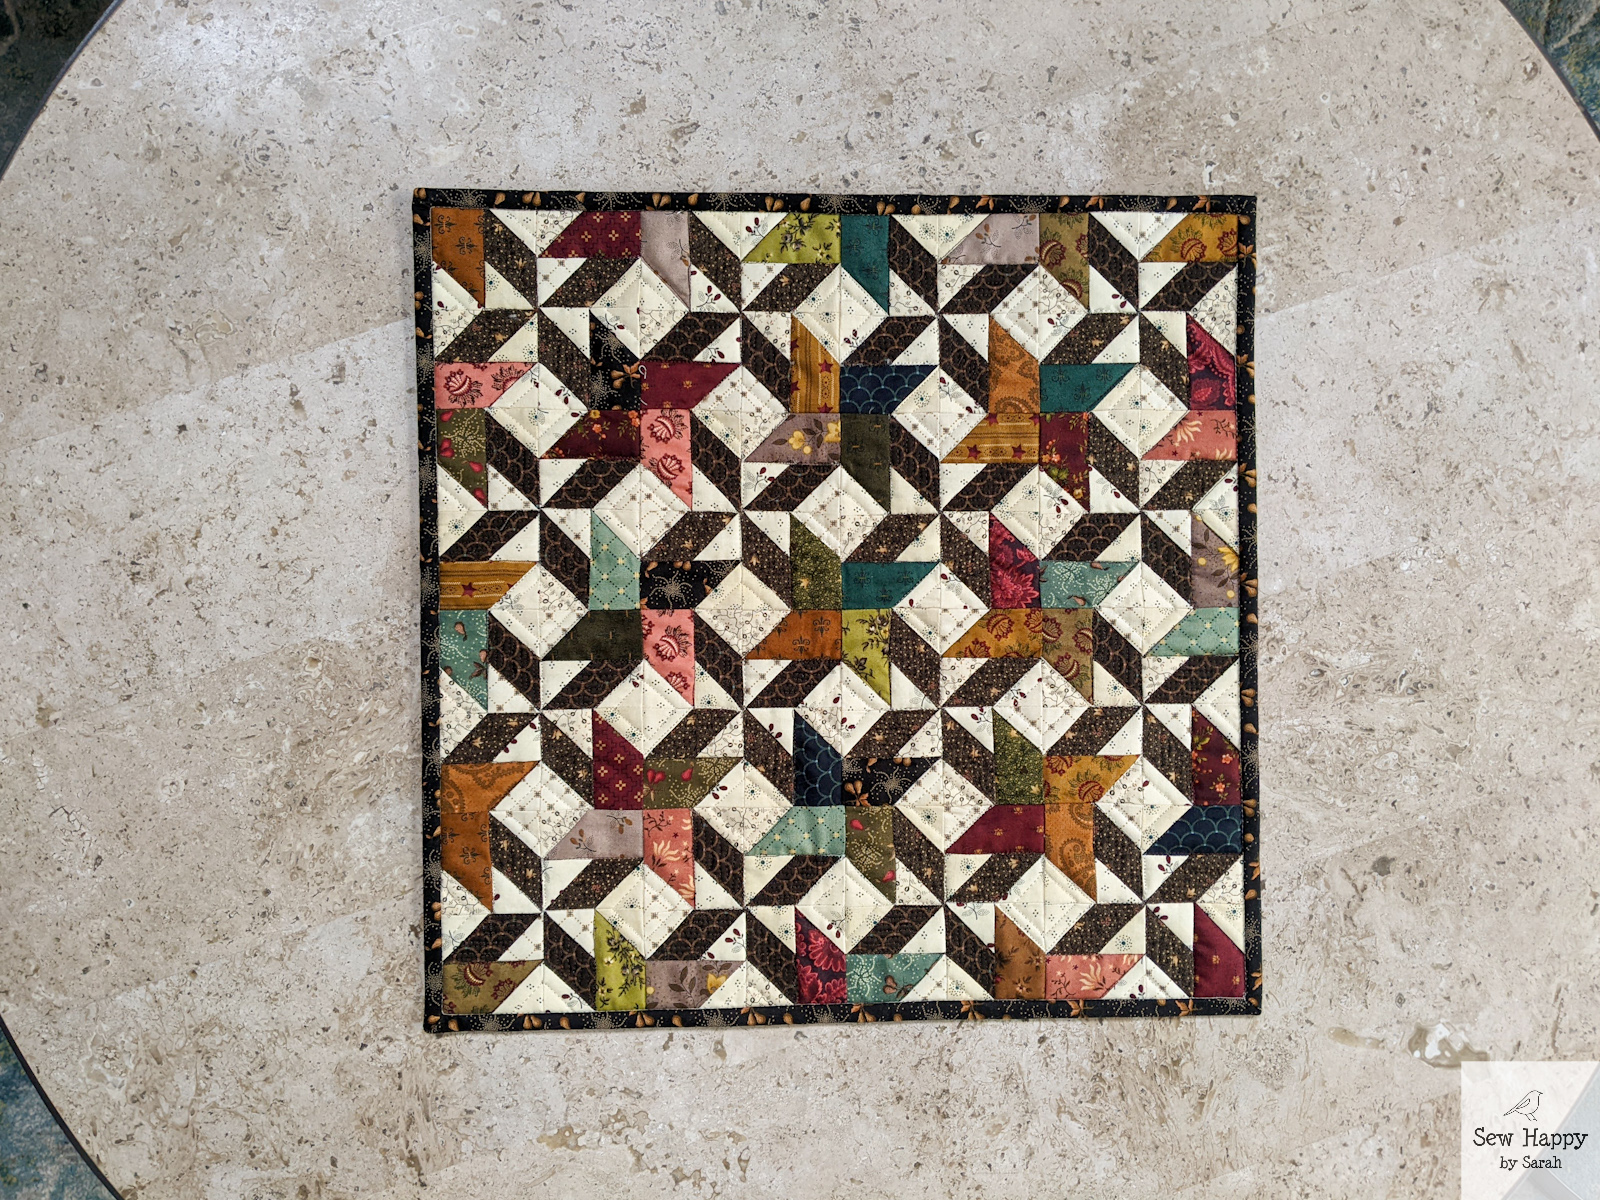
Another new year, another new Simple Whatnots Club! The first project from Simple Whatnots Club 12 is a true mini! I really like this size because smaller means a quicker finish. What cute diamond shapes in the center and colorful border. I’ve been working on my precision in seam construction (a 1/4″ seam is really important) and was pleasantly surprised everything came out accurate!
I think I’ll use this little mini from Simple Whatnots Club 11 as decor on a small table or hang it on the wall of my sewing studio as a little work of art!
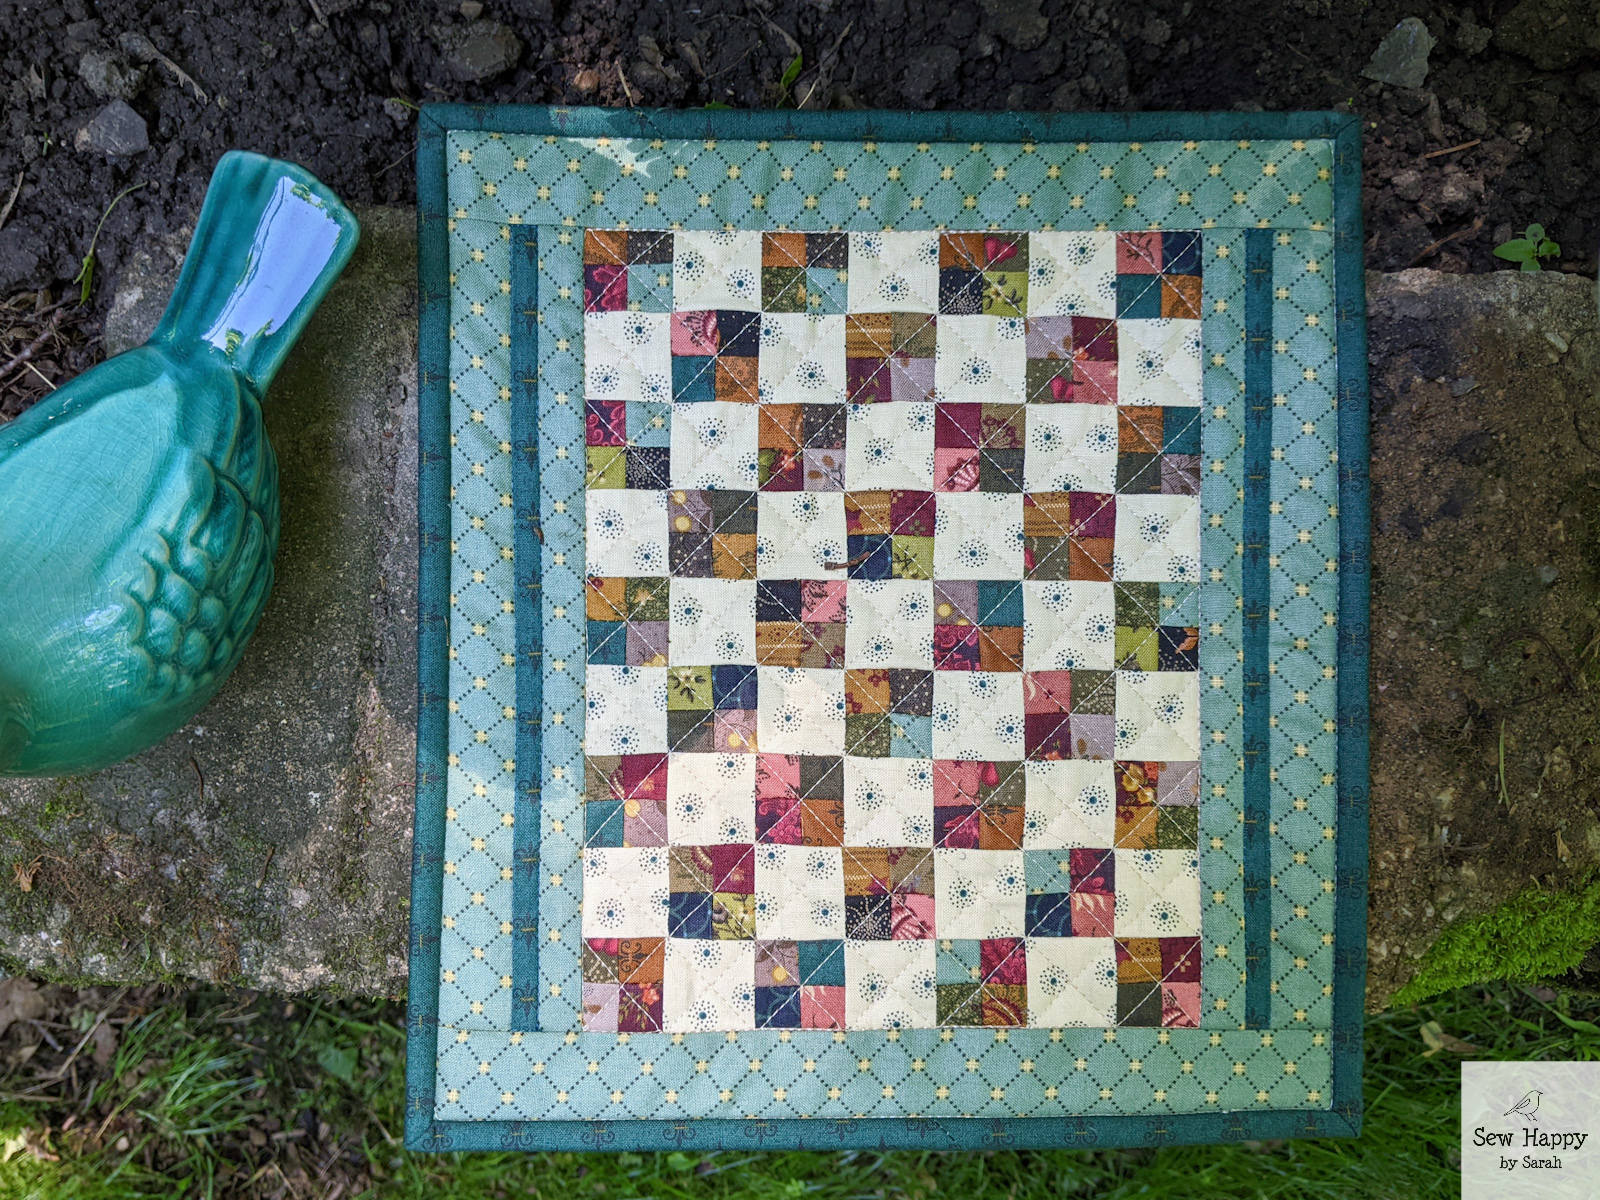
This mini quilt is only 10.25″ x 11.25″ and the pieces are just as mini: each square in the colorful 4-patches is 0.5″ finished! Whew! Luckily I didn’t have to sew together each tiny square. I used the amazing Creative Grids Turbo 4-Patch Ruler! You sew strip units together and cut the strips into pieces following the guides on the ruler for the finished unit you want to create. Then you assemble two of those pieces together to create a perfectly accurate 4-patch. It was so fun, I’m trying to figure out what else I can add 4-patches to!
Creative Grids Turbo 4-Patch Ruler
I kept the quilting simple so these little squares could be the star of the show. I used a walking foot on my domestic machine to create the diagonal lines. Conveniently the layout of the squares lended themselves well to this and I was able to follow the corners of the blocks to precisely create my lines.
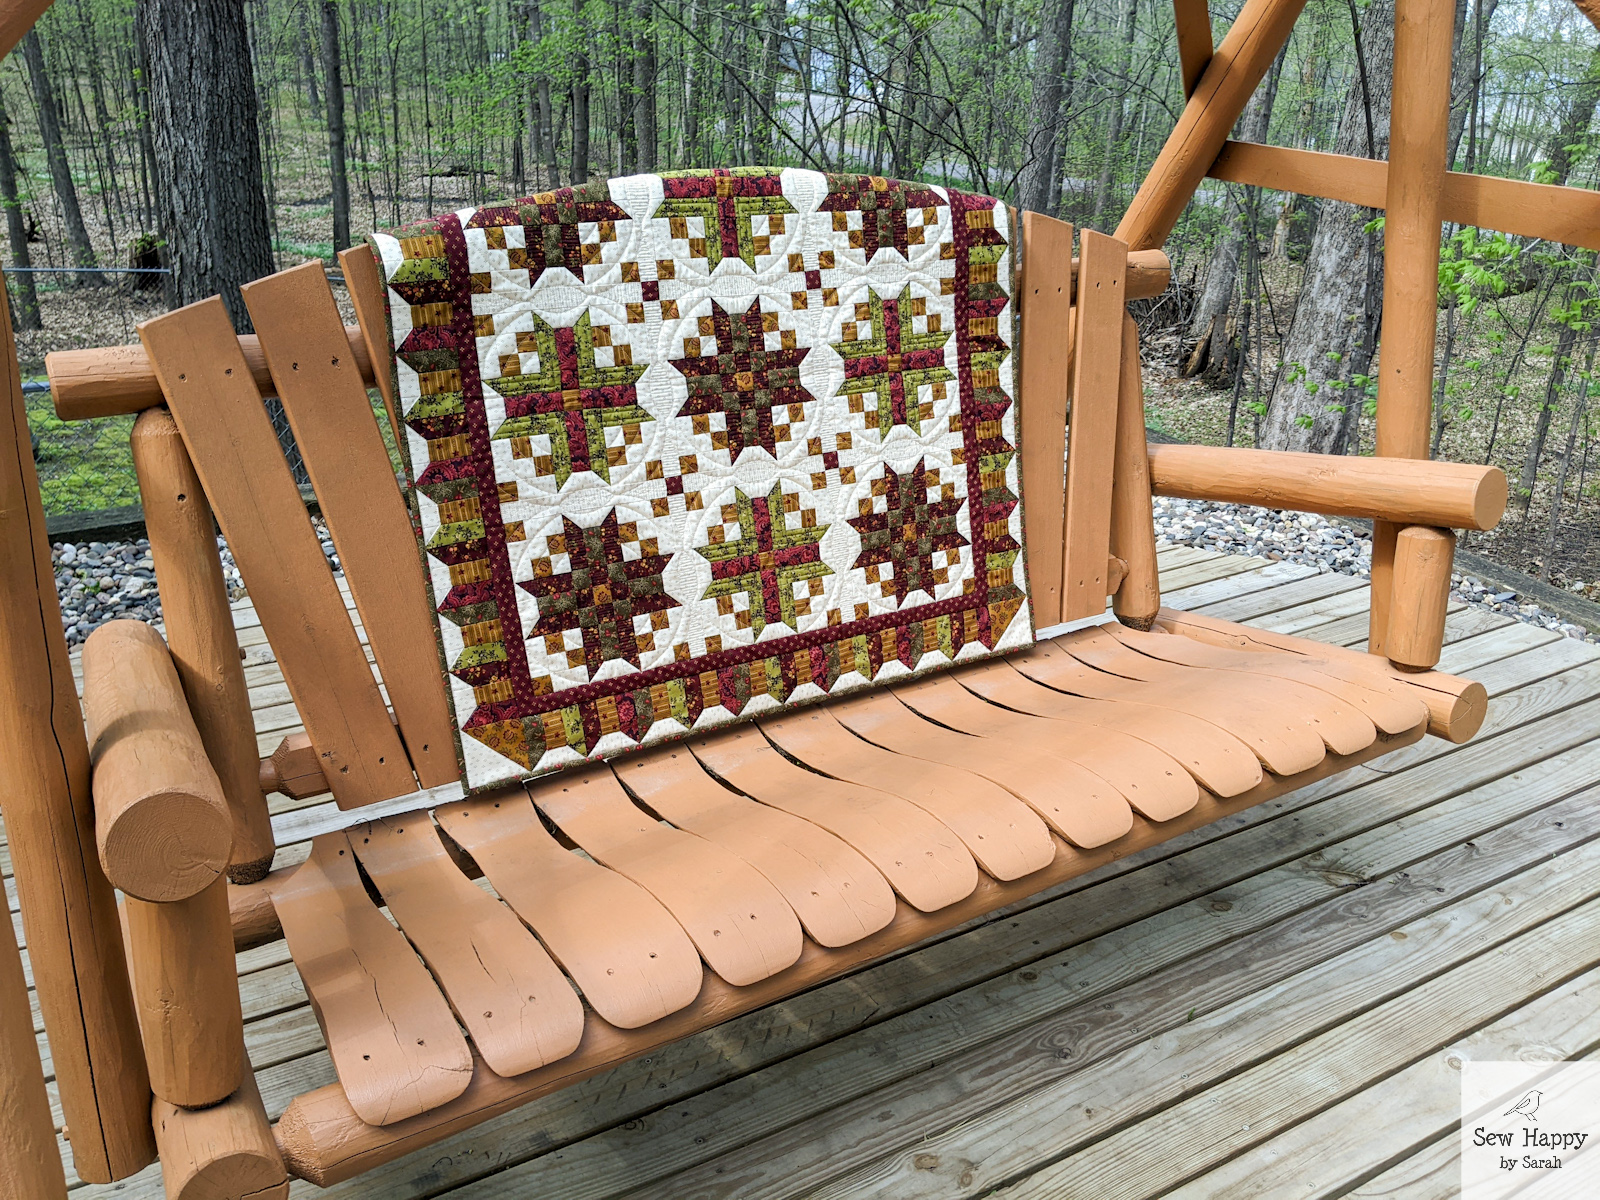
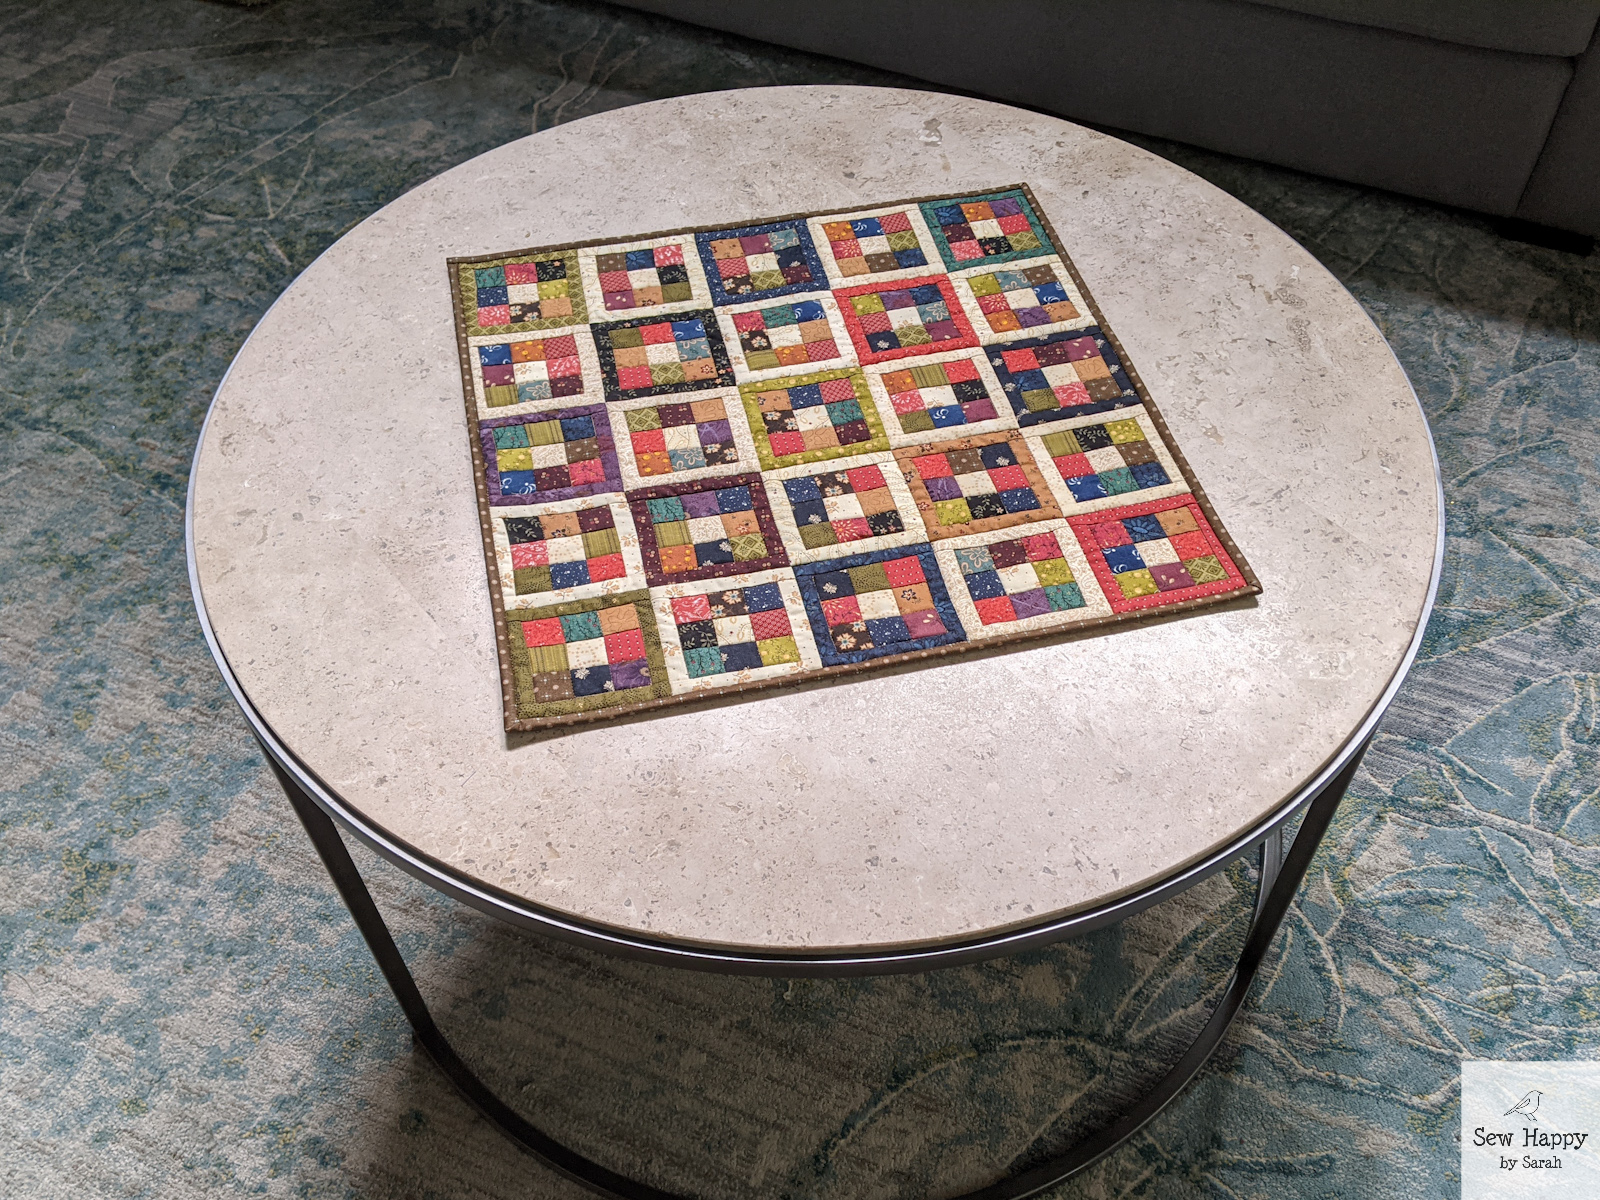
The third Simple Whatnots Club 11 project I completed is Keeping Room. Quite a bit larger at 35″ square, it definitely took longer to make. The pattern called for a more controlled color palette limited to the reds, greens, and golds in Kim Diehl’s Right As Rain fabric line. It was nice to try something different colorwise and with the unique blocks and border.
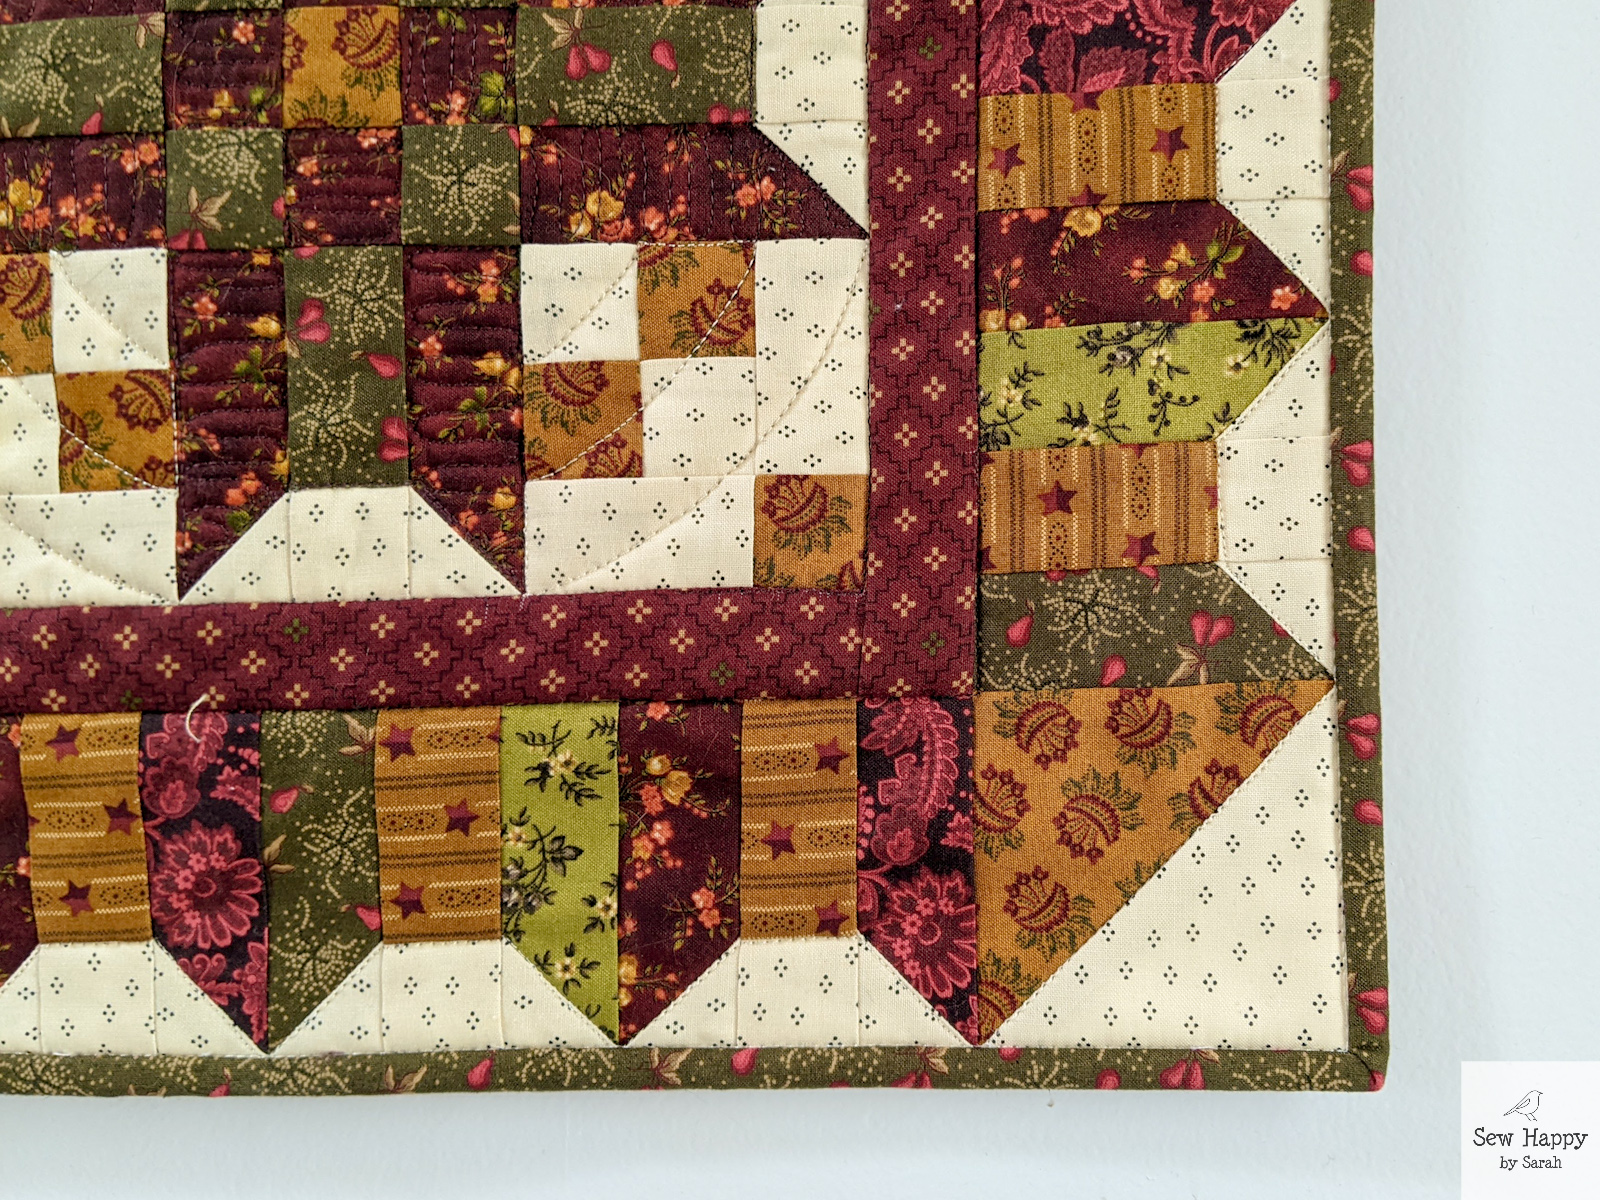
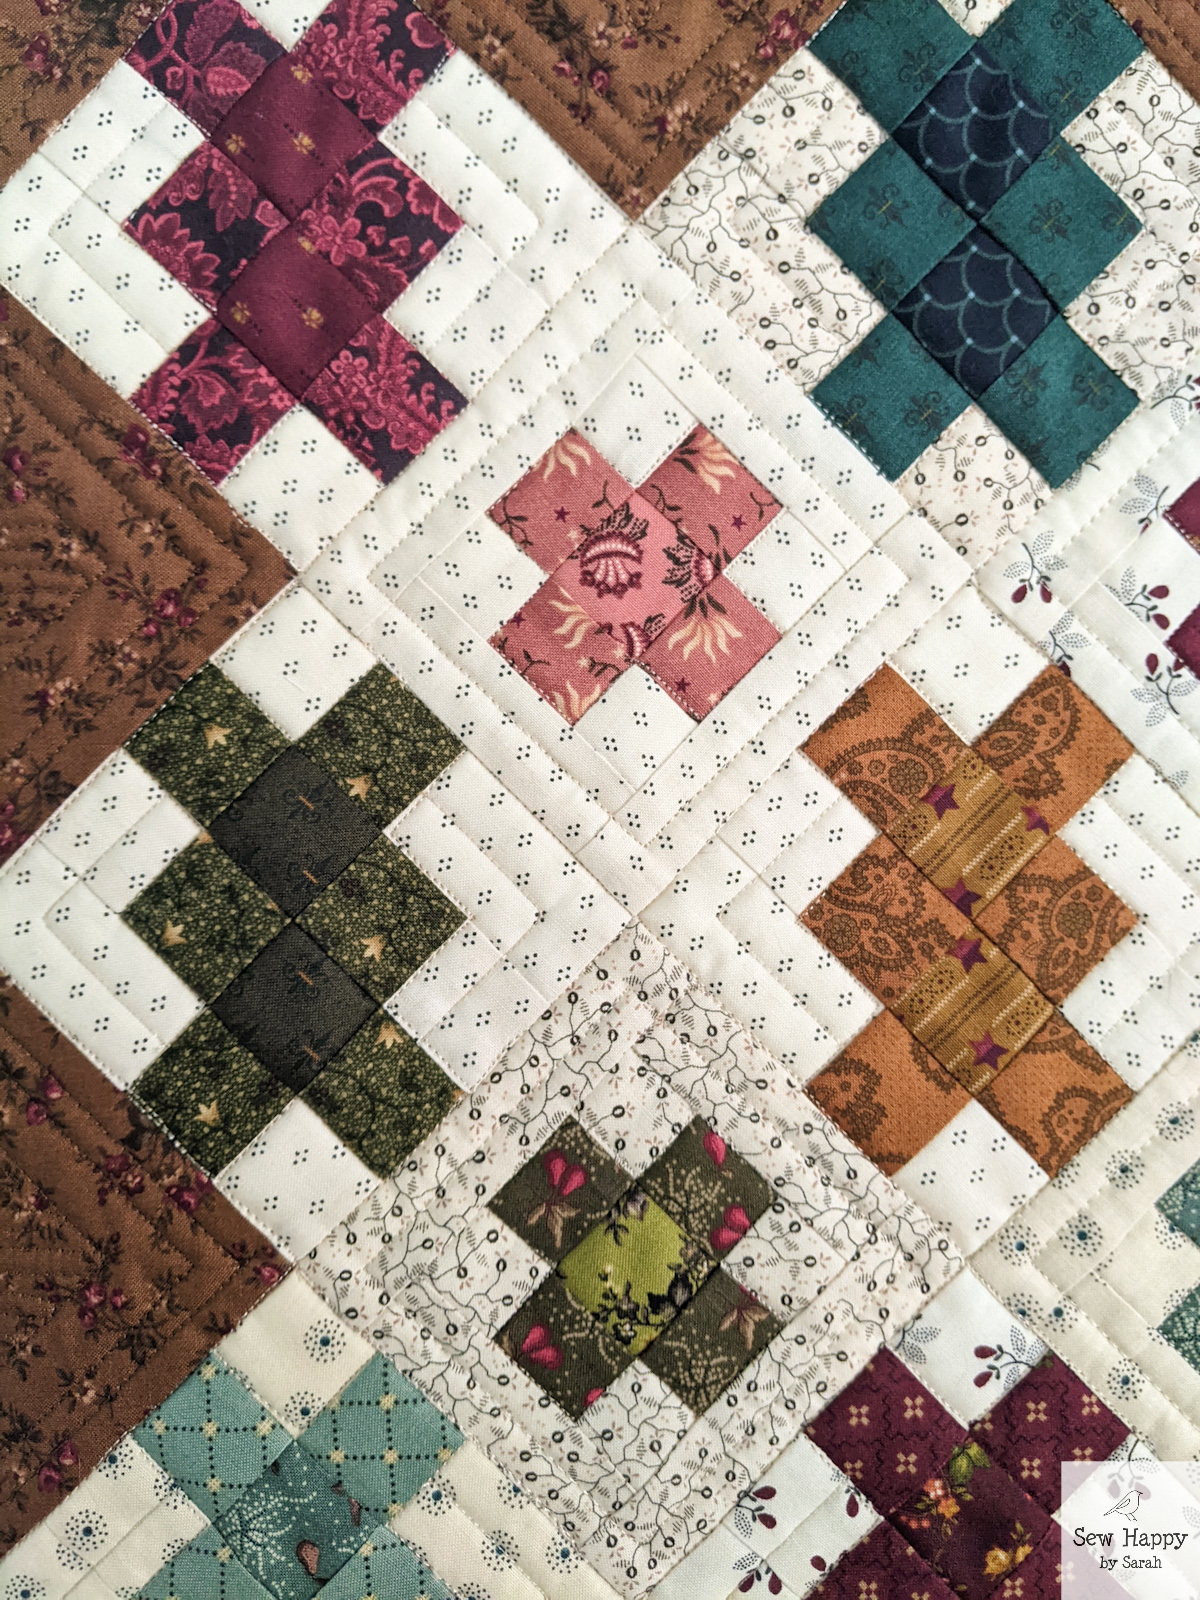
The cross-like shapes were fun to make. They were actually supposed to all be the same design, but I inadvertently changed the pattern of the light green/red blocks and didn’t see the difference until it was all assembled! Oh well — they remind me of ribbon wrapped around a gift!
The border was very intriguing to me. It makes a nice frame around the piece and I love the alternating colors. In general, my block sizes are usually very close to the sizes given in the instructions, but I know they can be 1/4″ off. So, I was a bit wary about attaching the border and whether it was going to fit on perfectly. A solid strip of border is a bit easier to adjust the size if needed without being noticable!
Surprisingly it magically matched up pretty good. I say “pretty good” because I did have to ease it in a little. And because of that easing, the center of the quilt ended up a bit “baggy”… I had spent so much time on it already that I didn’t want to take it apart and try to get it to fit better, so I thought, “I’ll just quilt it to death and maybe it won’t be noticable!” Hence, I progressively added elaborate arcs and dense fillers until it pounded down any loose fabric and made it look like an intentional medallion design. 🙂 (Shh! That’s my secret!) I’m actually very happy with it! The fact that it came out square and hangs on the wall straight (not wavy) gives me a bit of confidence about my long-arming skills!
When Simple Whatnots Club 11 started in January, I vowed to keep up with the monthly projects as best I could. We’re in the fifth month and I’m posting my second finish now, but I do have two more that are almost ready to share! 🙂 I’d say I’m doing pretty good — especially since I’m balancing this with some other block of the month programs I’m working on.
Hayride was fun to make! I like the scrappy spinning star shapes and the secondary pinwheel design you can see if you concentrate on the brown pieces. It is the perfect size for a table topper at 16″ square.
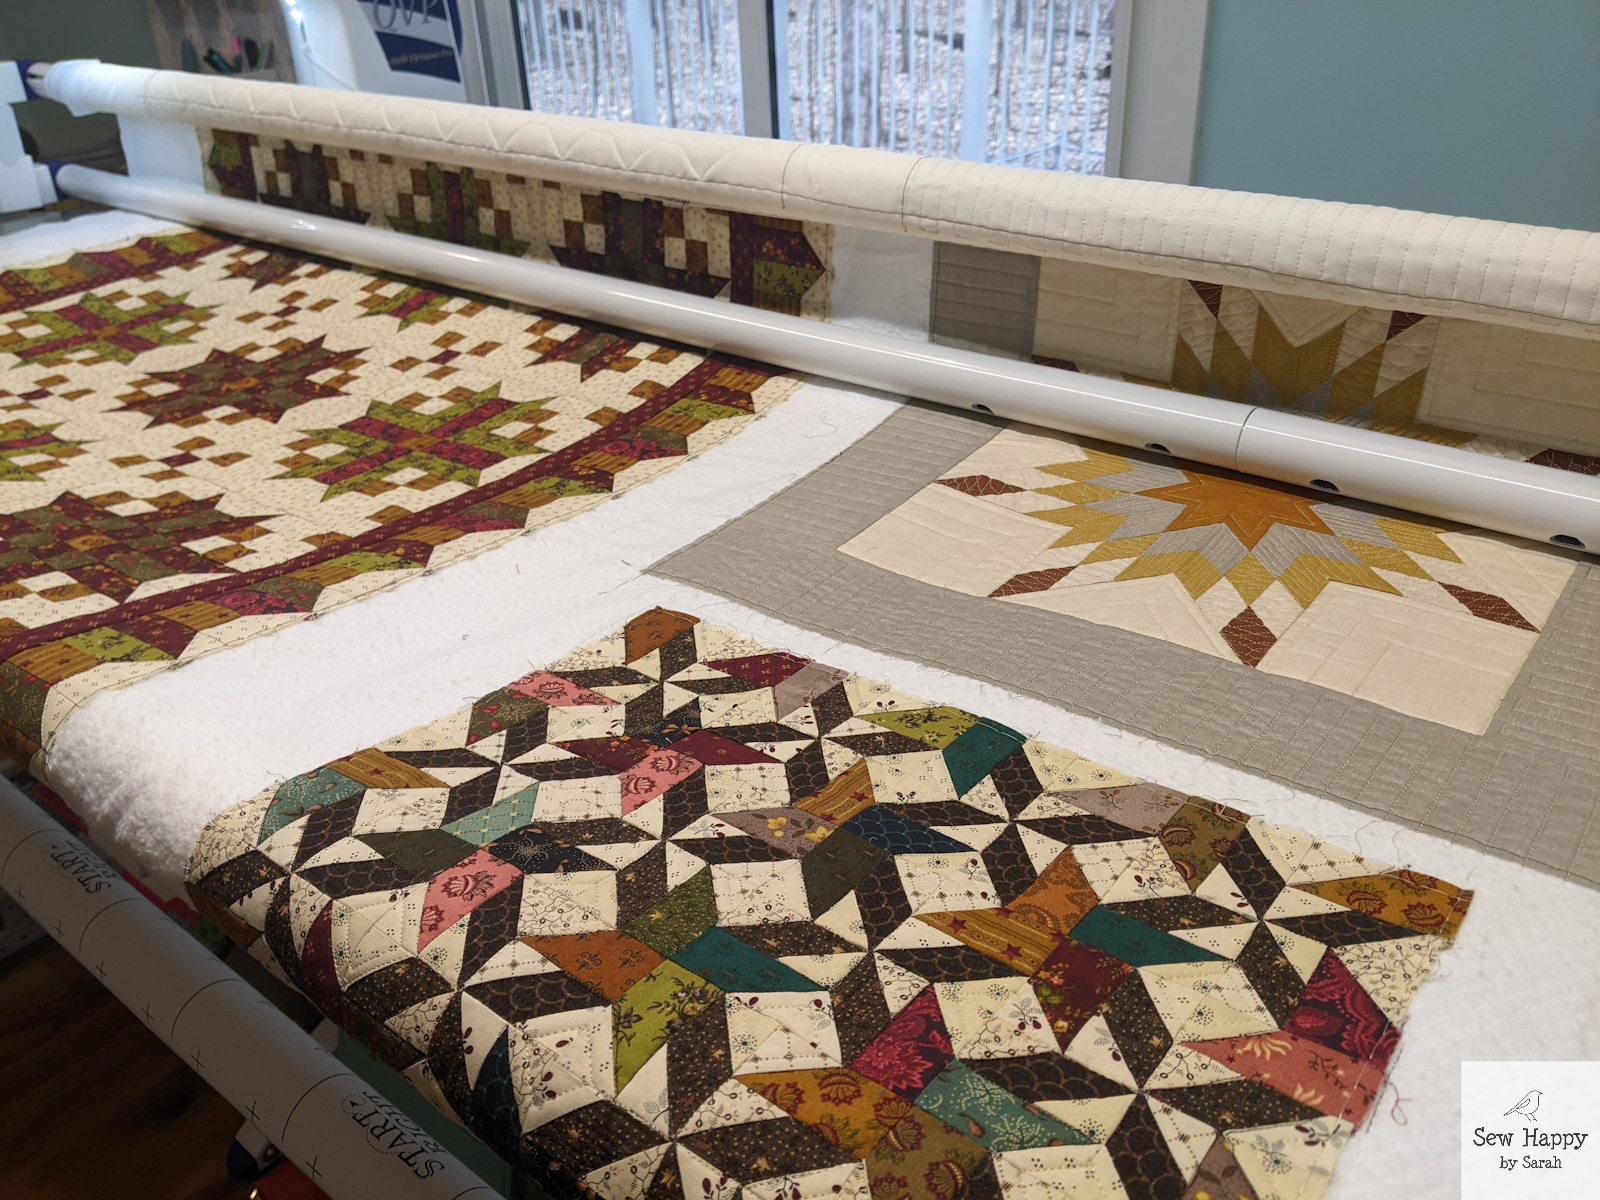
Since I had a few small projects ready to quilt at once, I put them on the longarm together! I could have used my domestic machine for such a small piece, but it definitely saved time to not have to baste the layers together and just throw it on the batting and backing I had already set up.
I traced around the star shapes and then added an extra outline to the white background squares to create some additional texture.
Last year I discovered pattern and fabric designer Kim Diehl who specializes in traditional style, mini quilts and applique. When I tried out one of her patterns, I was hooked! I absolutely love working with tiny pieces! I learned that each year she releases a new line of fabric and a set of mini quilt patterns for her Simple Whatnots Club. The 8-month club is only available through quilt shops and the shops provide the patterns and the coordinating fabric kits. I signed right up when I found it is offered from a local shop near me.
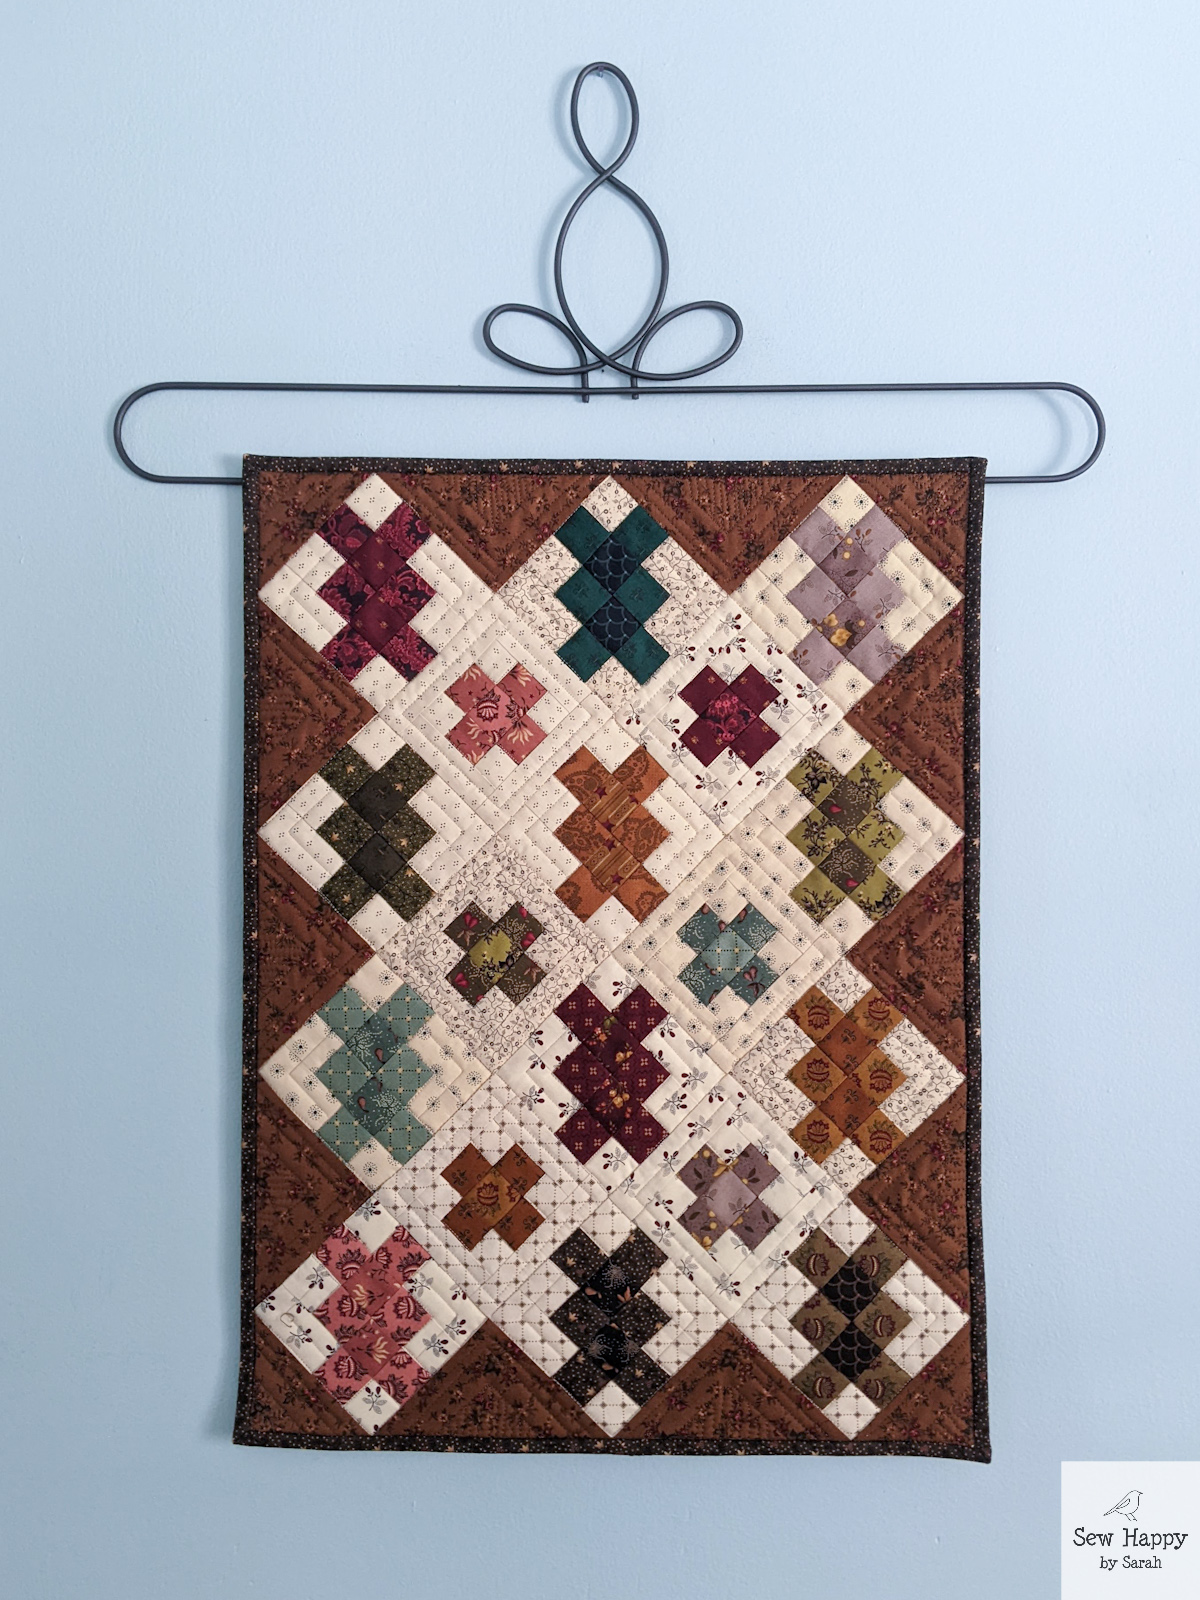
My shop offers a monthly meeting for the members where we receive that month’s pattern and tips and tricks for how to make it. We also share our projects with each other. In the January meeting we received our first pattern: Twist and Turn. For this project I spent about half of the time cutting out all these 1.5″ wide pieces and pairing them up to create a scrappy, but coordinated look. The main blocks went together pretty straightforward being all squares and rectangles.
Once it got time to assemble the blocks together, I had to think through the steps a bit more. This on-point layout with a triangular border was new to me. I had not done anything like it before. I was pleasantly surprised when it turned out correctly!
I experimented with some detailed quilting in the border and some additional outlines in the blocks.
I can’t wait for our next meeting to share my work with the group and get the next pattern!
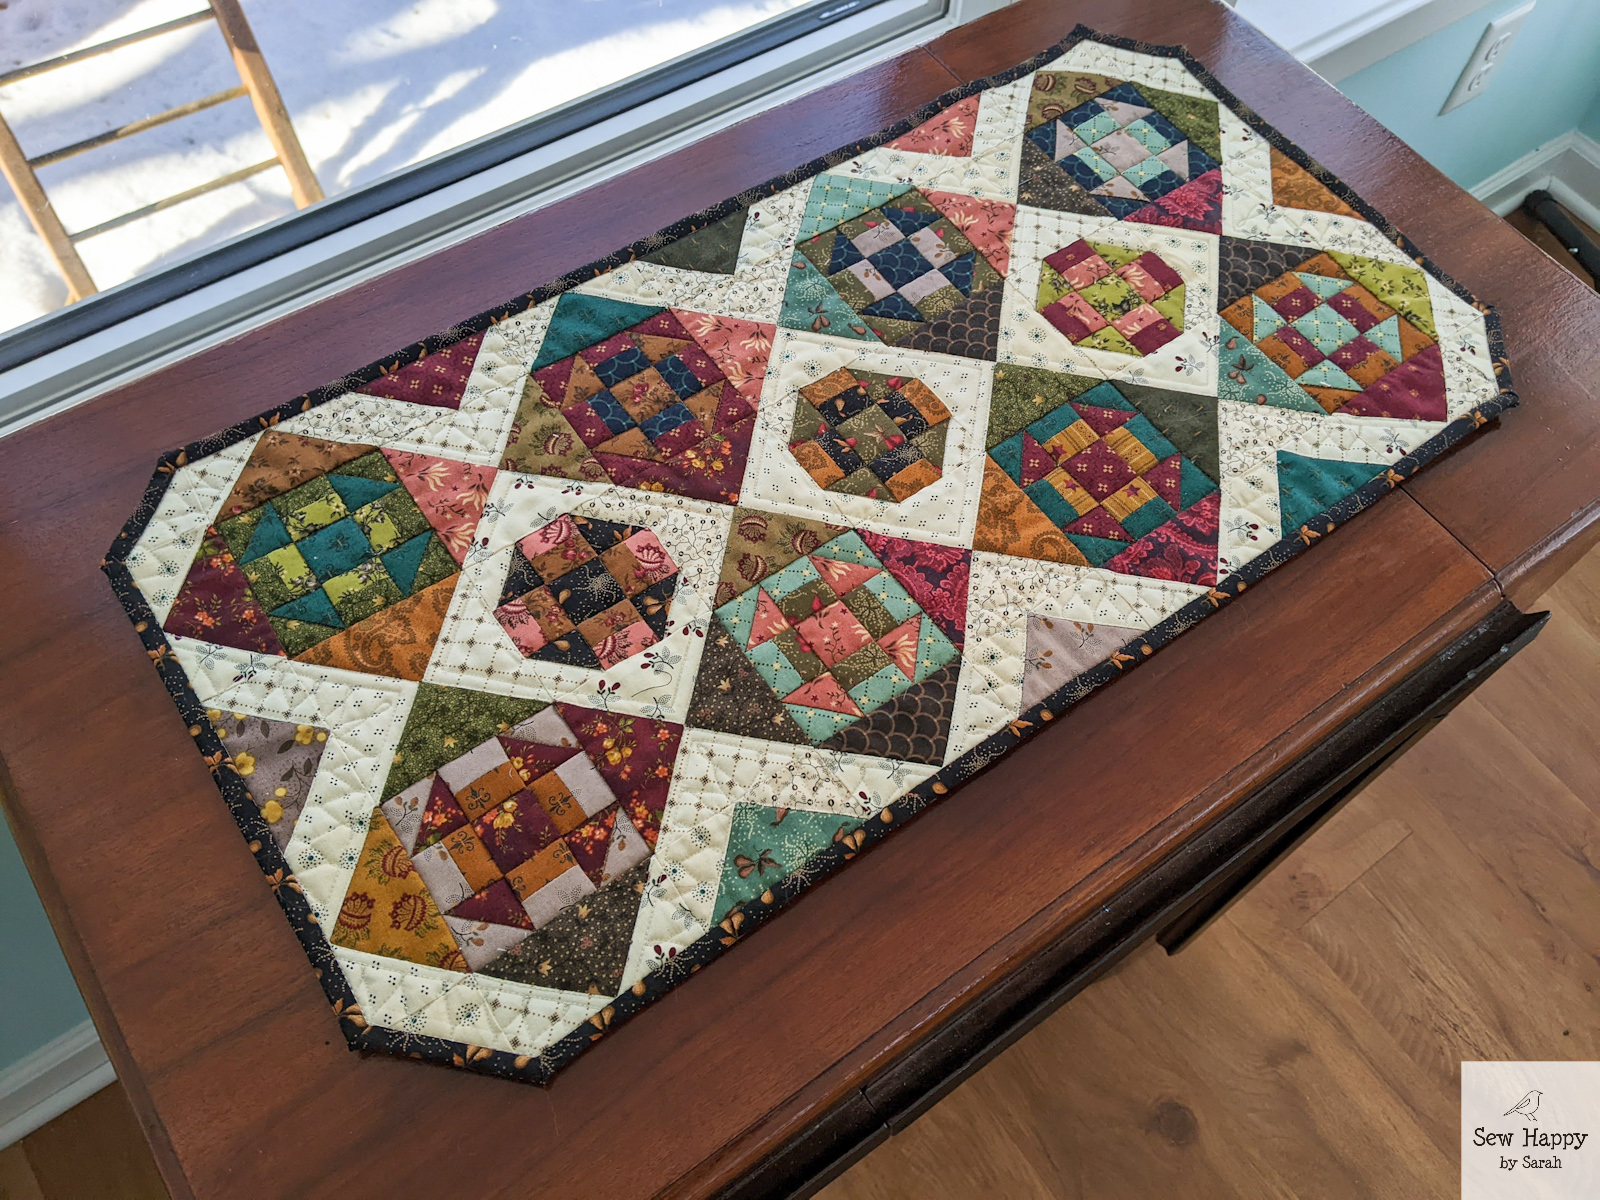
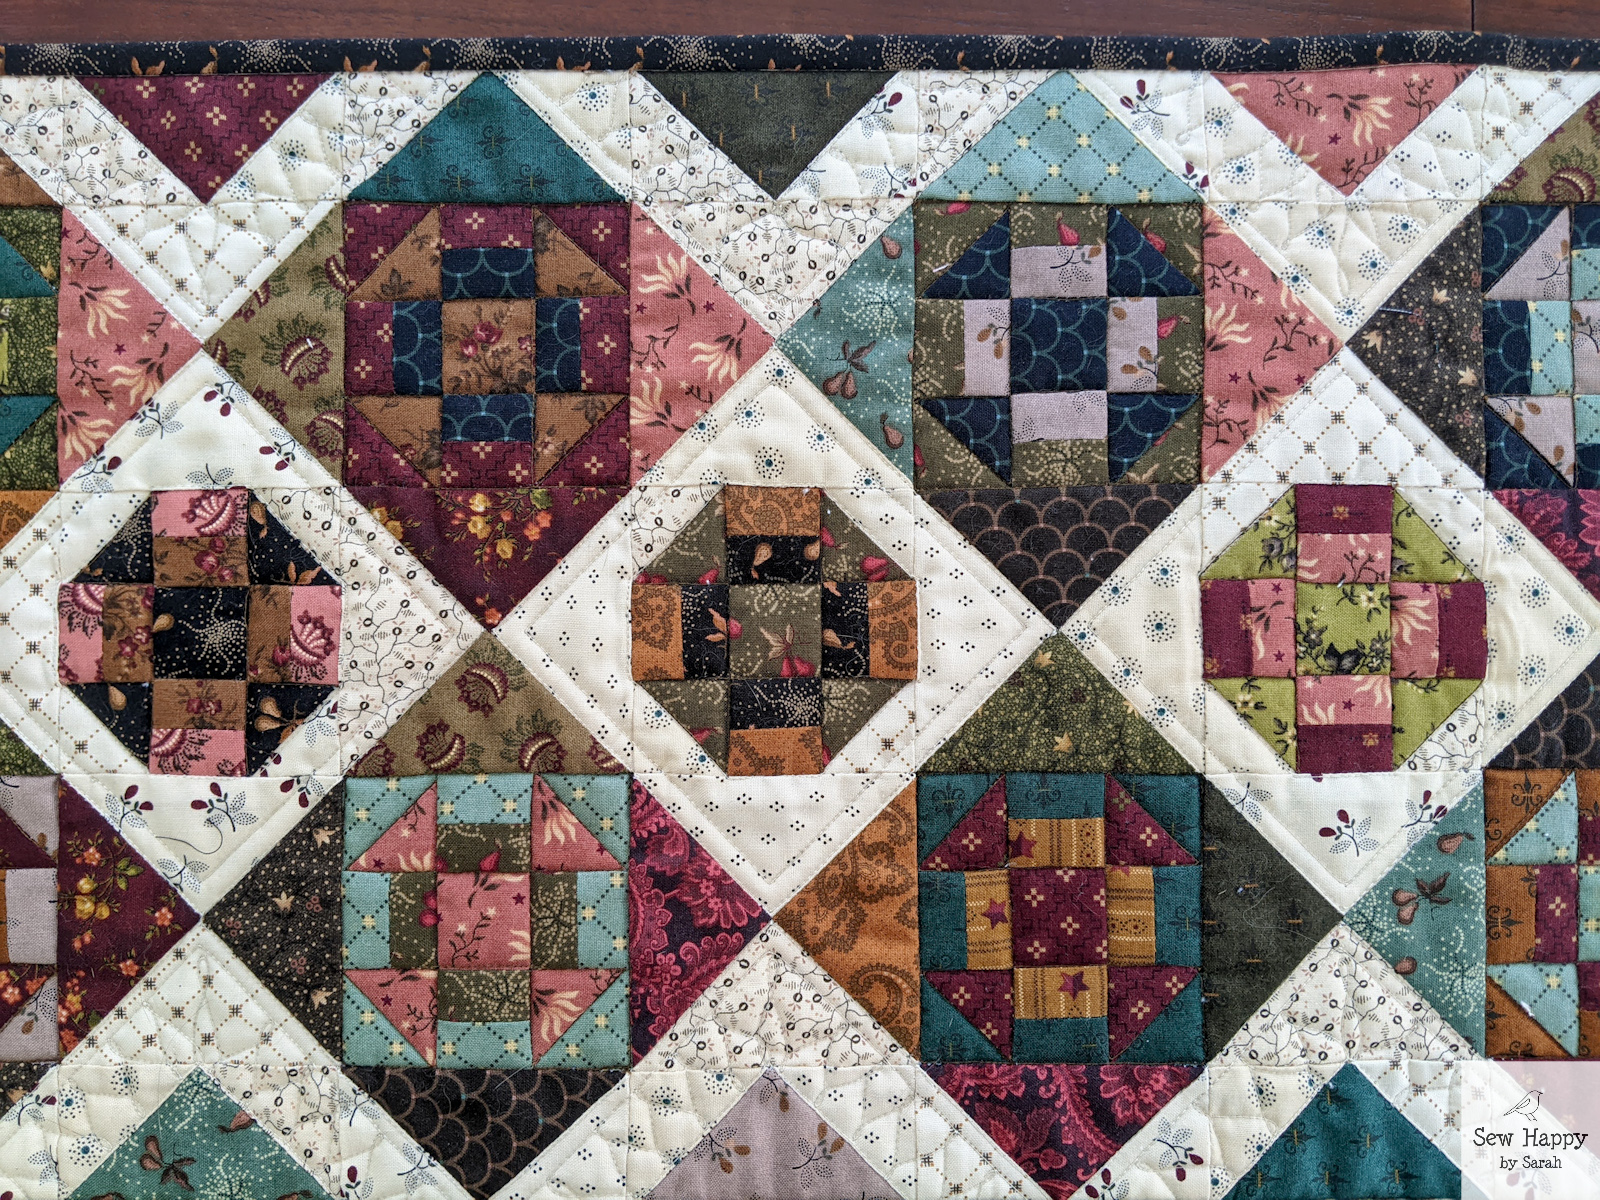
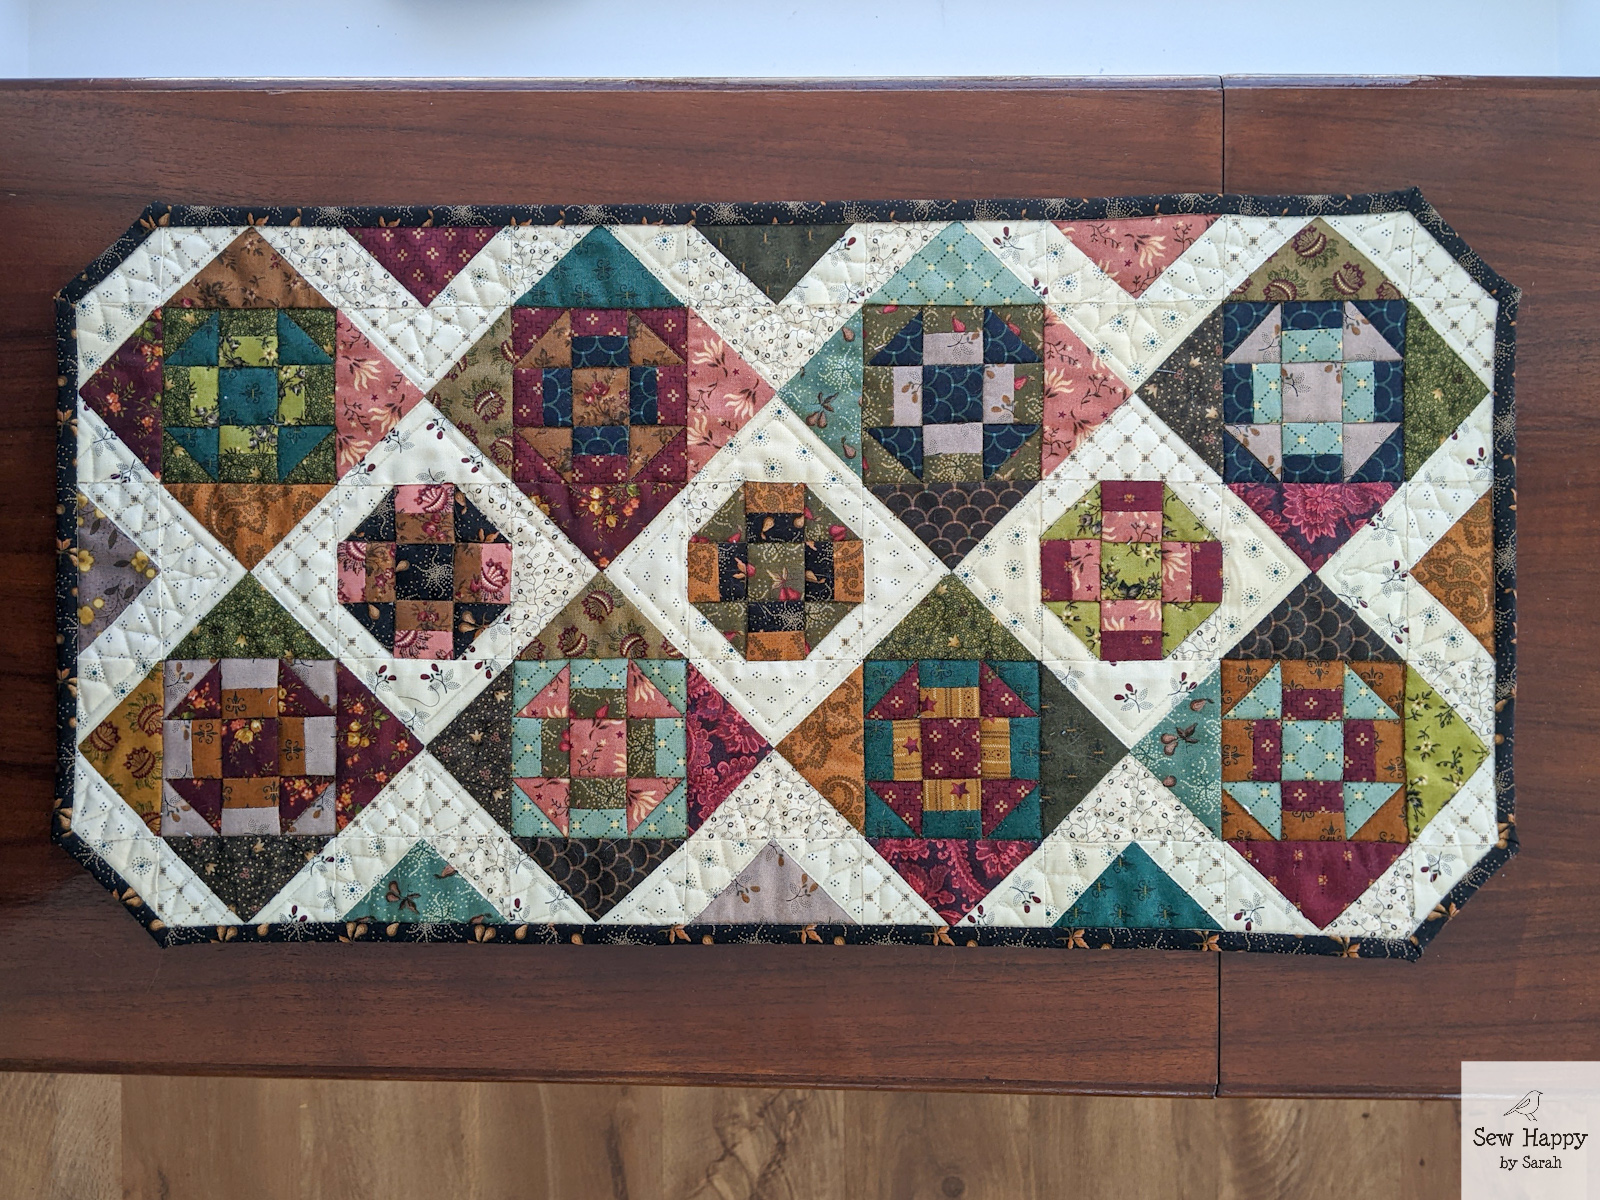
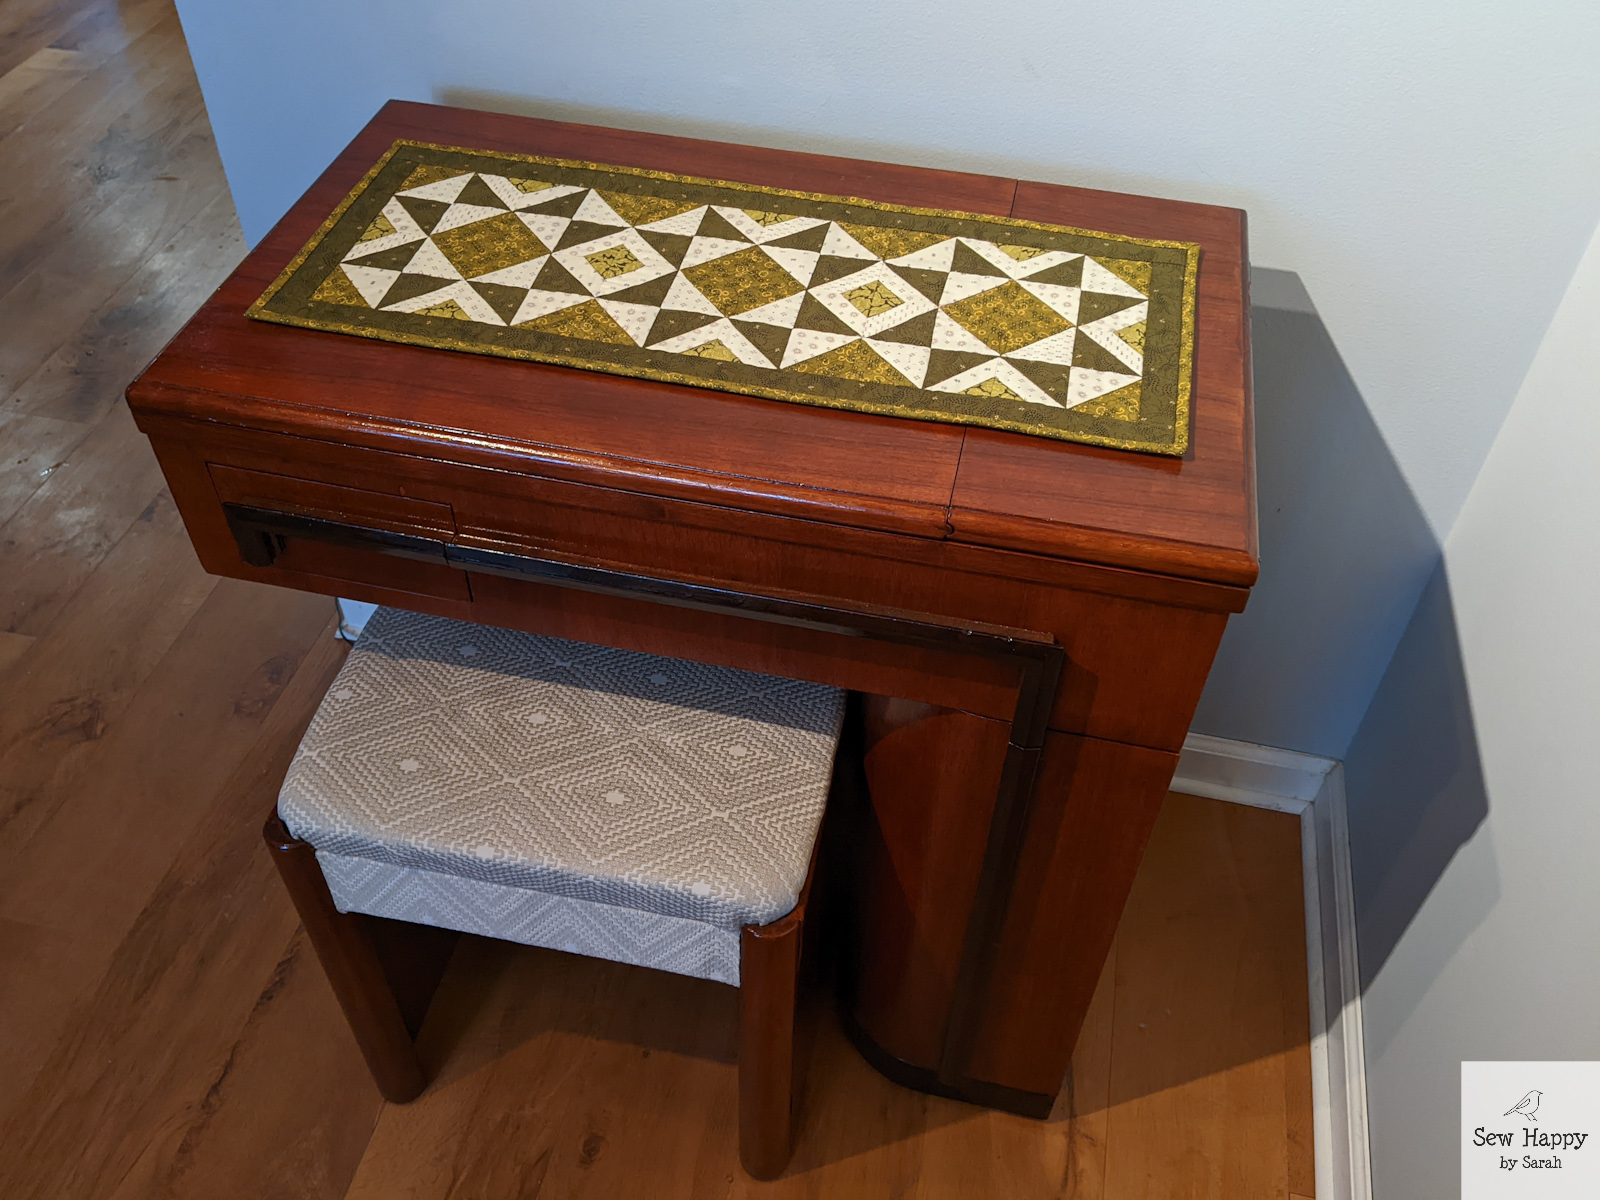
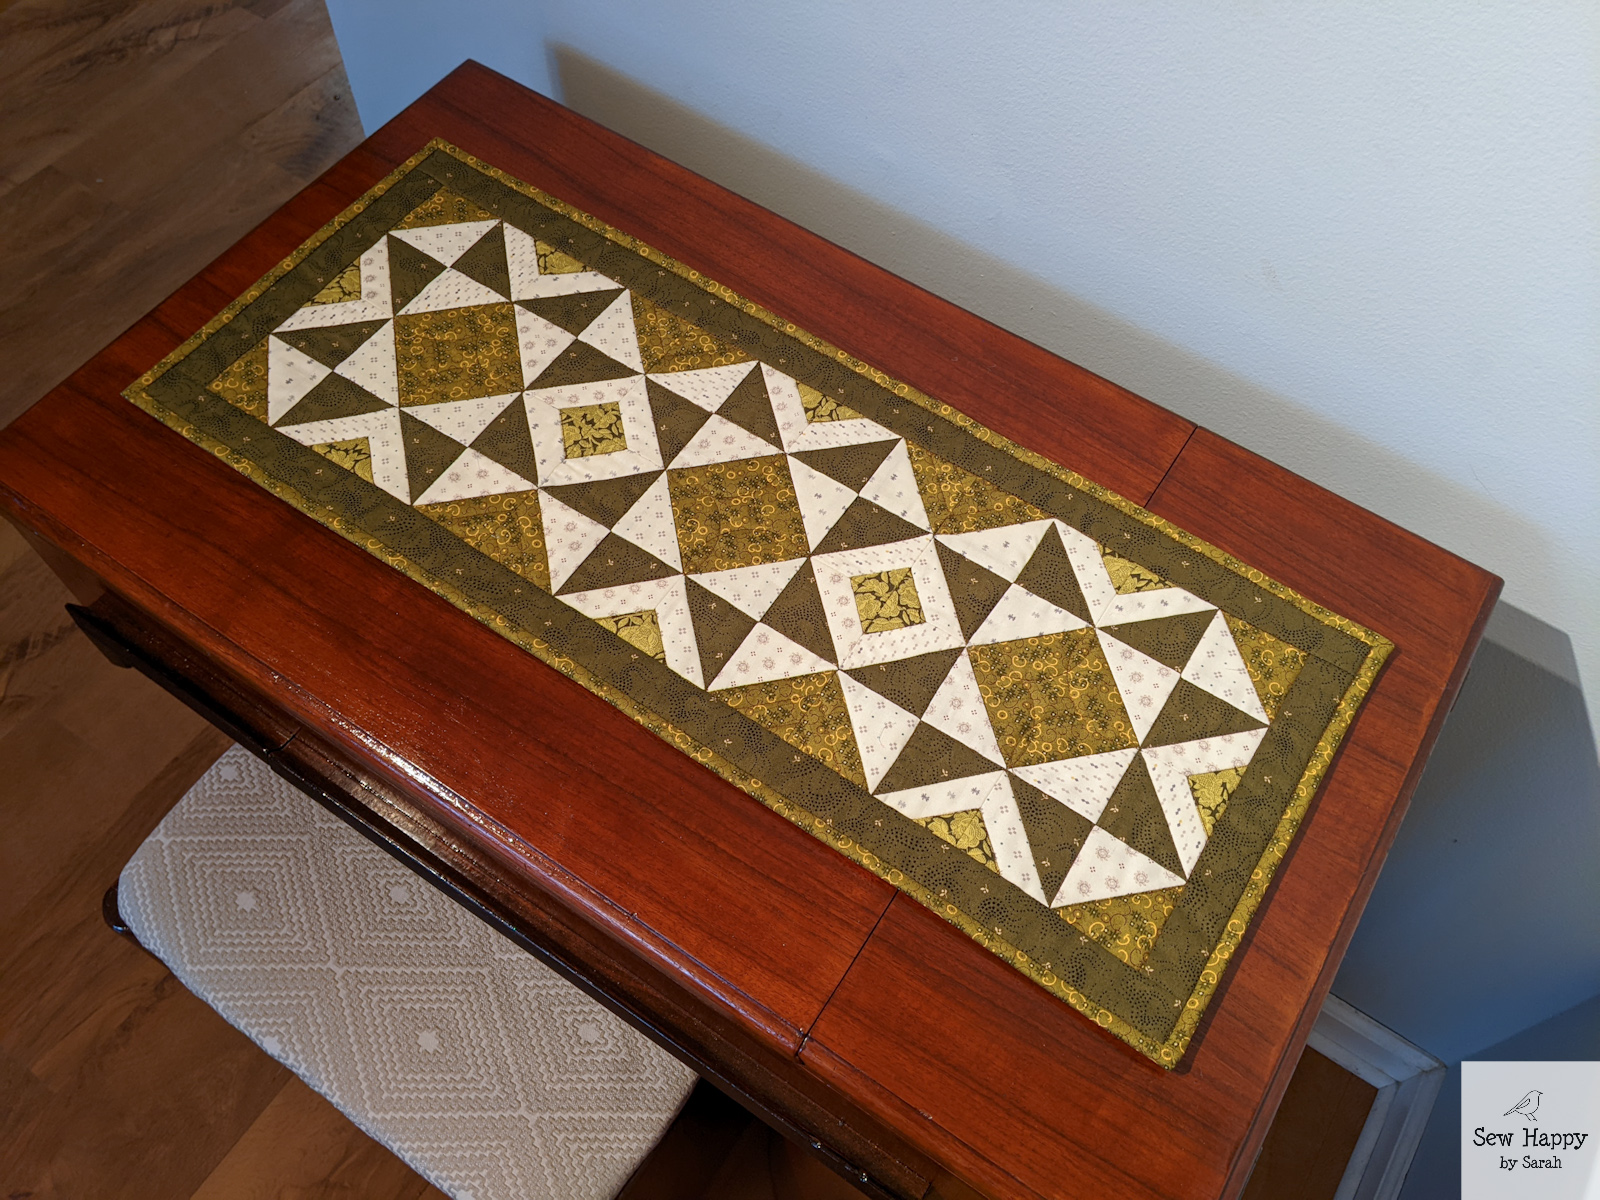
I love to see a secondary design pop out and add some interest to a quilt. For this Double Dutch Stars pattern, I can’t help but see the diamonds between the stars. As this little runner is a gift for my mom, I chose green fabrics to go along with the color scheme of her living room. It turned out just how I’d hoped!
For the quilting, I simply followed the seams. I did add a little loopy motif inside the large squares inside the stars, but I’m finding with any of the smaller areas and busier fabric it isn’t worthwhile to do extreme quilt designs. They get lost.
I was surprised to find this mini fits perfectly on my sewing desk! It’s the perfect size, but it needs to go to its new home. This gives me a great idea to make more minis to switch out for this desk, though!
The year 2022 is going to be the year of the minis. 🙂 I have joined the Simple Whatnots Club through a quilt shop where we will be getting a Kim Diehl pattern each month. My goal is to keep up and make them all!
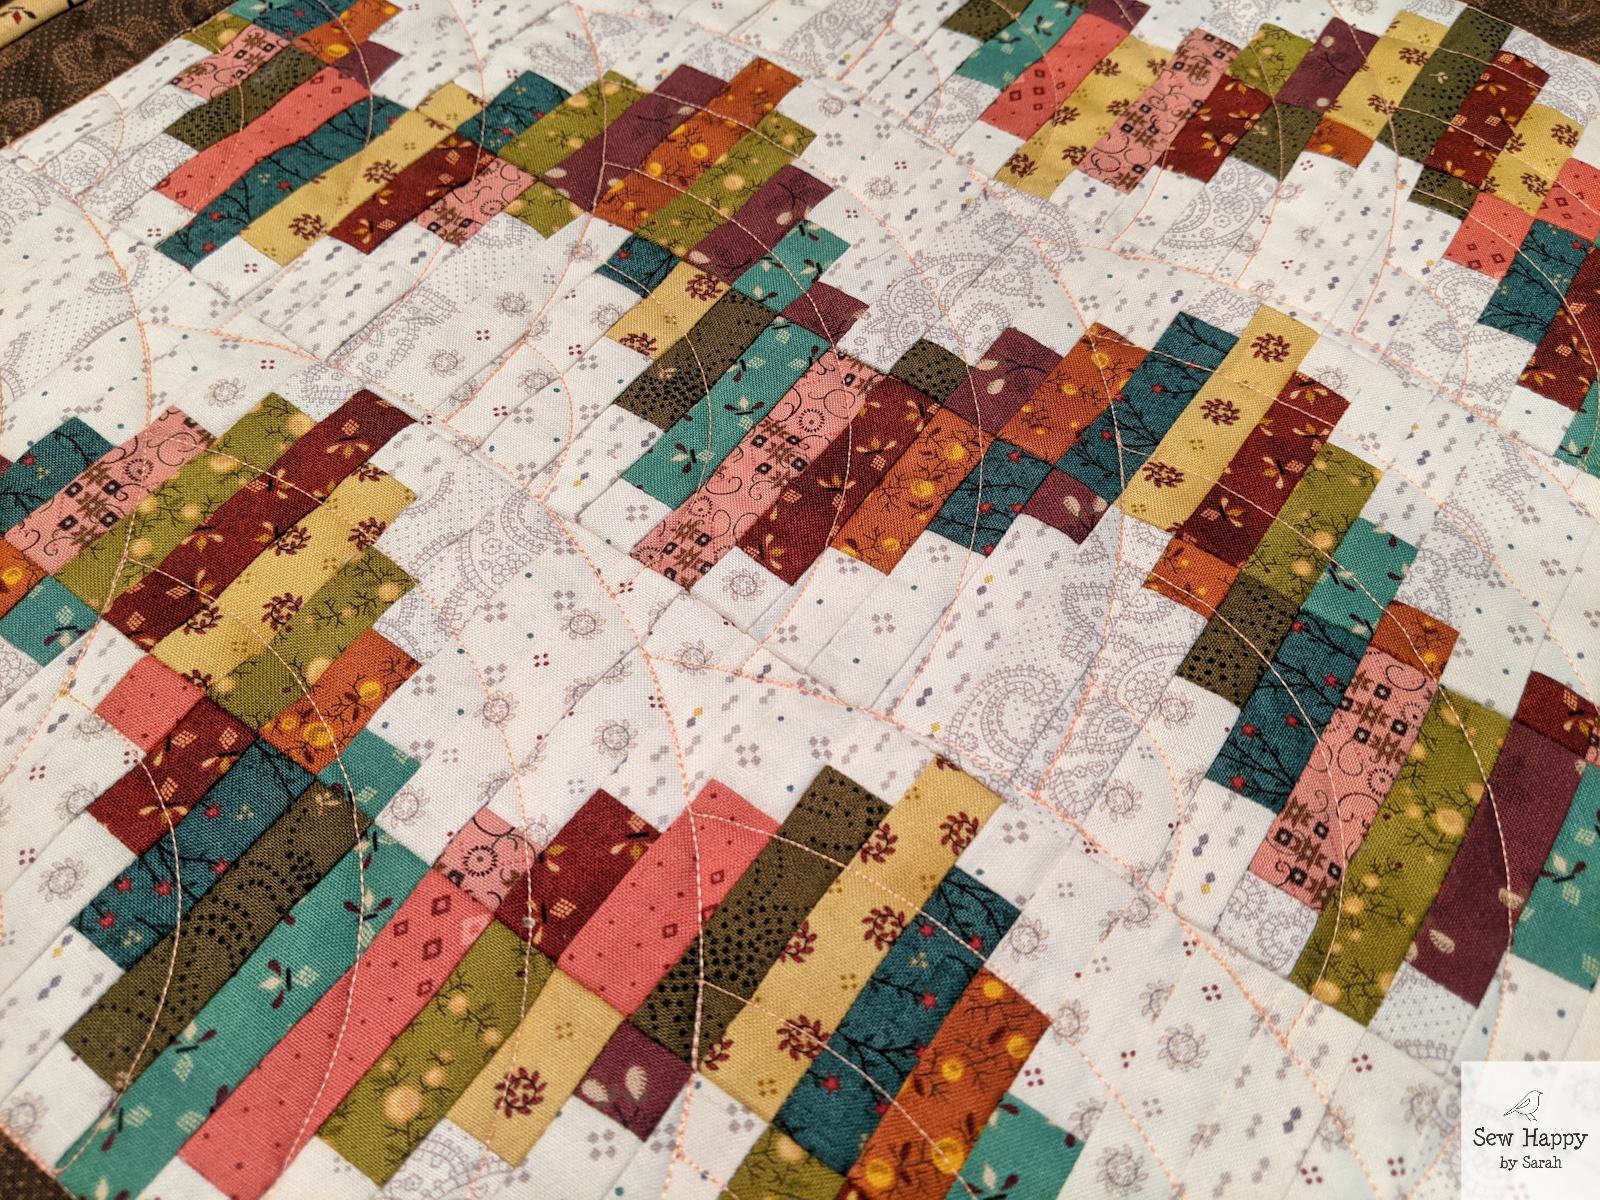
Just as promised, here’s another mini quilt! I bought Kim Diehl’s Simple Whatnots II book and plan to make my way through most of the projects with a stack of her Gratitude & Grace fabric line. Quilt number one is unlike anything I’ve made before! Its scrappy look with vibrant colors, dynamic design, and tiny 1-inch wide strips (before sewing together!) were all new to me and I’m very pleased with the result.
First off: 1-inch strips and 1-inch squares! I tried to cut as accurately as I could with those teeny things! I’m wondering now if 1 inch is the smallest pieces I’ll encounter in this mini quilt journey or will they get smaller? Everything went together well, though! I took a little bit of extra time trying to make sure the same fabrics didn’t touch each other — you know, “controlled scrappy”. 🙂
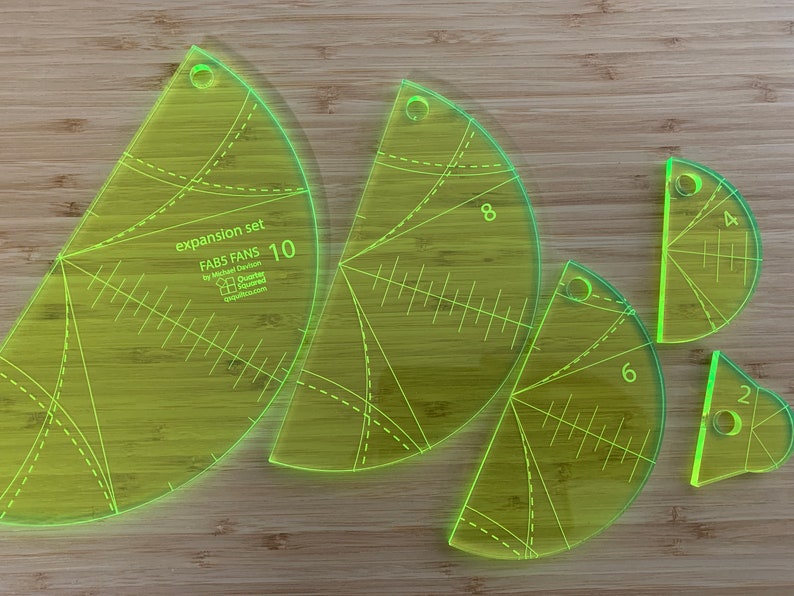
For the quilting I used some brand new rulers I wanted to try out: Baptist Fans Expansion Pack from Michael Davison. They were surprisingly easy to use after I watched his YouTube videos. A great all-over quilting look for someone who doesn’t have a computerized longarm. Since this was such a small quilt I actually did the quilting using my regular sewing machine with free motion.
Baptist Fans Expansion Pack from Michael DavisonGuest appearance from Mindy!
While visiting a quilt shop during an end-of-summer road trip to South Dakota, I spotted a sample of an adorable mini quilt on the wall. I think it was a combination of the colors and the tiny squares that drew me to it. I knew immediately I had to make it! They had kits all made up and ready to purchase, so Pint Size came home with me.
Pint Size at Quilt Connection, Etc. in Rapid City, South Dakota
I had previously spent time trying to perfect my quarter-inch seam allowance to become a more accurate quilter. I’ve improved so much in the last few months that I felt ready to tackle a mini. A miniature quilt is defined by the smaller blocks and the overall size of the quilt being less than 24 inches. The smaller pieces and higher number of pieces in a block are generally a little more difficult to make successfully so they can be daunting, but I was up for the challenge.
I really enjoyed making this one! Piecing all of the 1 and 1/2 inch squares together went well and it was fun to use a variety of fabrics for this scrappy look.
Now, as I pieced my Pint Size blocks, they were coming out to be the correct size, however, as I added the borders and sewed the rows of blocks together some became a little askew… I’m not sure what happened but I’ll just have to work on this technique more in another project! I think it adds a little character. 🙂
As I was making this, I wanted to know more about the pattern designer, Kim Diehl, so I did some research. It turns out Kim has an annual “Simple Whatnots” monthly pattern club dedicated to these small quilt patterns, which is where this pattern came from, and she designed the fabric in my kit as well. She has also written a couple of books with these Simple Whatnot patterns, so I ordered one and now my goal is to make a bunch of these minis! I also plan to join the next pattern club starting in January 2022 for a whole year of minis with her newest fabric line.
Prepare for more minis to come!
Finished Size: 19.5" x 19.5"
Pattern: Pint Size from Simple Whatnots Club Collection 3 by Kim Diehl